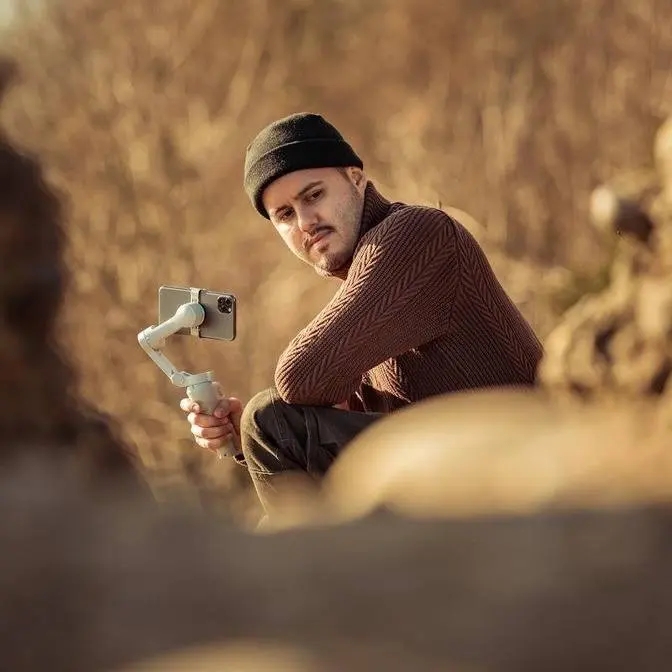
DISCLAIMER Some links are affiliate links, where I earn a small commission if you click on the link and purchase an item. You are not obligated to do so, but it does help support this YouTube channel and allow me to continue making videos for you. I appreciate your support!
TIMESTAMPS: 00:00 - Introduction 00:37 - Reduce Up and Down Movement 01:11 - Lock Exposure 01:57 - Add Foreground 02:19 - Include Reveal Shot 03:03 - Avoid Eye Level 03:45 - Avoid Pan Shots 04:10 - Use Gimbal Features 04:57 - Get Creative 05:24 - Include Transitions 05:57 - What’s Next?
smartphone gimbals are a must half for
capturing smooth professional looking
footage they stabilize your shots and
eliminate shakiness that can ruin a
video but simply by owning a mobile
gimbal won't guarantee great results it
takes practice and skills to truly
Master it in this video I'll break down
the differences between beginner and pro
level gimbal moves and share tips and
techniques to help you take your skills
to the next level now a huge thanks to
horm for sponsoring this video I'll use
the HM I steady M7 smartphone gimble
throughout this video but the tips and
techniques can also be applied to any
smartphone gimbal so with that said
let's get started a common mistakes
beginner make with smartphone gimbals is
moving the phone up and down too much
during a shot and this causes a bouncing
effect that will ruin your entire
footage and to avoid this hold the
gimbal with both hands keep your arms
close to your body and walk smoothly
using the Heel To Toe method avoiding
sudden movements Additionally you can
adjust the gimbal speed to match your
preferred sensitivity which can also
help you achieve smoother results
personally I like to keep the home IET
M7 set to medium for the best balance
next is to lock your exposure this step
is crucial for capturing professional
quality videos without it your
smartphone camera May automatically
adjust brightness during recording
causing sudden shifts that can ruin your
footage for instance during a reveal
shot changes in exposure can make the
video look inconsistent and by locking
the exposure you'll avoid these shifts
and get smoother more polished results
in the default camera app you can simply
tap hold on the brightest part of the
image to lock both focus and exposure
you'll then see the AE and AF lock icon
appear while this works for most shots
ideally you want to keep the focus on
auto and lock only the exposure for this
level of control it's best to use a pro
video app like the Blackmagic camera
next is to add foreground to your shot
to create depth and make your videos
more engaging instead of just focusing
on the subject in this case it would be
the boat try to incorporate elements in
the foreground like a wall plant or tree
branch now when comparing the two shots
notice how having a foreground object
closer to the lens also emphasizes
camera movement which on the other shot
is not as noticeable next is to add a
reveal shot this is a great way to
reveal your location by gradually
bringing it into view you can unveil the
scene by moving forward while gently
tilting the camera upward now you can
use the joystick but I prefer to use the
handle movement now the best way to do
this is to lock all Motors except for
the Tilt so this way I can only tilt the
camera but not pan or roll it now in
order to not have the motors in the
frame when using the ultra wide angle
lens I can simply press the trigger
button four
times and you'll see it will adjust the
gimbal so that you won have the motors
in the frame now another approach is to
slide from one point to another using a
foreground object to cover the frame and
then sliding to reveal the location
another common mistake I see many
beginners make is shooting from eye
level it's easy to get comfortable with
this angle but sticking to it can make
your shots feel boring if done all the
time instead try switching things up and
experiment with different perspectives
for example I can use the integrated
tripod to capture low angled shots for a
more unique look and you'll also notice
through this shot it created this nice
reflection which adds more depth you can
also do the opposite and create high
angle shots which in comparison to the
normal shot makes it look like a fake
drone shot so don't be afraid to get
creative and play with different angles
which eventually will make your videos
visually more appealing next is to avoid
relying too much on basic pan shots
while pan shots are great for capturing
wide views or establishing a scene
overusing them can make your videos feel
repetitive or even amateurish simply by
panning left to right or right to left
gets boring fast Instead try using more
Dynamic camera movements like this crane
shot for example or you could also
create an orbiting shot around your
subject now next is to take advantage of
the gimbal's feature and one of the best
things about the home IET M7 is not only
the ability to stabilize your footage
but also offering smart tools to make
filming easier a great example is the
IET m7's AI tracker and with this
Advanced tracking system it will allow
you to be perfectly centered in the
frame making it easy to include yourself
in your videos and what's even more
awesome is that you can use gestra
control to record and track without
touching the screen now the detachable
remote controller for the gimbal adds an
extra versatility with its live preview
making it so much easier to frame and
monitor your shots and I've created this
walking scene with the gimbal tracking
me and you can see that having a Tracker
like this means I'm no longer limited to
static shots next is to get creative
with your gimal moves and experiment
with different techniques to take your
videos to the next level for instance
try adding Dynamic moves like a barrel
roll to rotate the camera while moving
forward it's an attention grabing shot
that keeps your audience engaged another
great idea is a moving time lapse with
the home IET M7 you can easy set points
A and B to capture a smooth time-lapse
shot which is a perfect way to add
movement and a unique touch to your
shots now transitions are an excellent
way to create a smooth cohesive flow
between shots in your video One simp yet
effective technique is the camera tilt
for instance you can tilt the camera
downward as you walk forward ending your
first shot on a dark surface such as the
ground then start your next shot from a
similar dark surface in a new location
tilting the camera upward and moving
forward to reveal the new scene and by
matching the motion and texture between
the shots you can achieve a seamless
professional looking transition that
keeps your audience engaged all right
folks if you like this video and want to
learn more about gimbal moves my course
has a section that covers it all plus
you'll learn everything about mobile
film making from planning and filming to
editing and Publishing your video all
shot on your smartphone check out the
link below thank you so much for
watching and see you in the next one
[Music]
[Applause]
[Music]