
How to knit the blackberry stitch / Tutorial
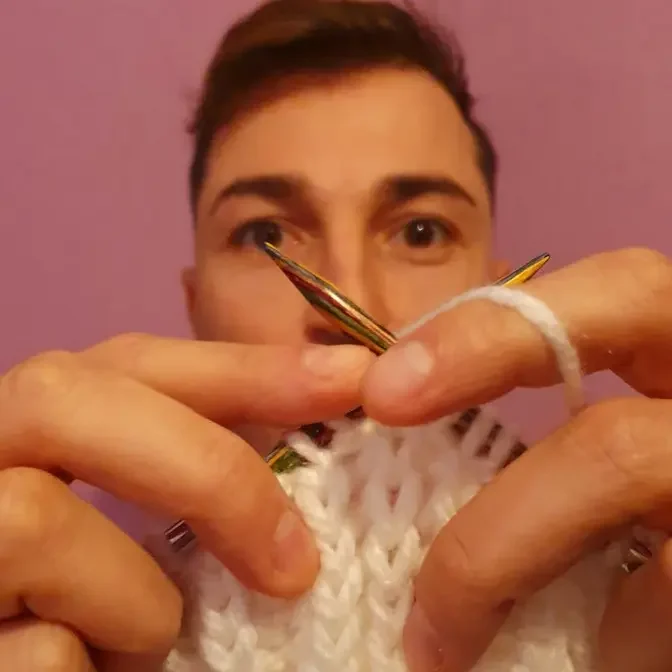
In this tutorial we learn how to knit the blackberry stitch, wich is one of the most popular and used stitches in the baby clothes.
To do this stitch we need multiple of 4+2 and 4 repetetive rows.
For more knitting and crochet tutorials: https://www.youtube.com/channel/UCGKAS17UdCiFx54FwThJexQ
my instagram: https://www.instagram.com/diywithemil
my camera: canon M50
my microphone: Rode lavalier Go profesional
#knit #stitch #knitstitch #blackberrystitch
beautiful knit titch, popuar knit stitch, knit stitch for baby clothes, best knit stitch for baby clothes.
Hello everyone, welcome back to my channel. My name is Samir and today we're gonna learn how to
knit the blackberry stitch, which is not reversible. It doesn't look the same on the wrong side. It
doesn't look bad but it's not the same. And this is one of the most popular and one of the most
used stitches for the baby clothes. And to knit this stitch we need multiple of four stitches
plus two border stitches and four repetitive rows. So let's get started.
So let's get started casting on the stitches and for the demonstration I have casted on
30 stitches, which is 7 by 4, 28 plus 2 border stitches, 30 stitches. And we're gonna start
the very first row knitting the very first stitch. But you have to know that the first
stitch is the border stitch and we don't work it anymore. And then what we're gonna do is continue
for all the stitches on the first row of the stitch. And you have to know that we are going
to purl always on the right side. We are going to purl always the stitches. So all the actions
we are going to do on the wrong side of the label. So let's continue with the first row
for all the stitches. Well I'm about to over the first row and we're gonna continue with
the second row, the wrong side of the label. So well the second row is the first
stitch. It's a border stitch so we don't need it. We just slip it to the right hand needle and then
what we're gonna do is continue with the next three stitches purl together. So we're gonna
introduce to this these three next stitches and purl them together. And then what you're gonna do
with the next stitch is first knit, then move the yarn to the front of the label, purl the same stitch
then again move to the back of the label the yarn and knit the same. So this is the sequence
we are going to repeat for all the way of the row. So again move to the front of the
label the yarn, purl three together and then the next one is knit one, the same, purl one
and the same stitch, knit one and now we drop the stitch. Again purl three together and the next one
knit, purl the same and knit the same stitch. So this is how we're gonna continue for all the way
of the second row. Last three stitches purl together, then knit one, purl the same
and knit the same. Last stitch, border stitch, purl one. And this is the second row, the wrong
side of the label. And let's continue with the third row which is the right side of the label
where we are going to purl again all the stitches. So we're gonna continue purl all the stitches
in the third row of the stitch. Well once we have the row number three what you're gonna do is
continue again with the wrong side with the row number four where we have to continue with the
same sequence but what we're gonna do is change the order. Instead of start with purl three together
we're gonna start with the stitch which first we knit, then purl and then knit the same and then
we're gonna continue with purl three together. Actually this is the difference between the
row number two and row number four. So again next stitch, knit one, purl the same
and then knit the same and then purl three together. So this is how we're gonna continue for
all the way of the row number four. Well for those who knit english style, knit one, purl the same
and then knit the same. Then purl three together. Last stitch, border stitch.
Also there is not much difference between the row number two and the row number four. The
difference is that we just change the order of the purl three together with the stitch which
we knit, purl and knit. And then the right side is always the same. Purl all the stitches. This is not
going, it's not going to change for all the way of the stitch. So what I'm going to do is repeat
few more times the four rows to show you how it looks like the stitch and let's continue with it.
Well I have repeated five times the four rows for this demonstration and it's called
blackberry stitch because you can see the blackberries which we have on the right side of
the labor, the motifs and it's not reversible the stitch. It doesn't look the same on the wrong side.
It doesn't look bad but it's not the same and this is one of the most popular stitches, one of the
most used stitches for the baby clothes and this is how it looks like. I hope you really like it
and if you have any questions don't hesitate to do it in the comments below and don't forget
to subscribe and follow me on my Instagram. Bye-bye!