
How to knit a Hat / Tutorial
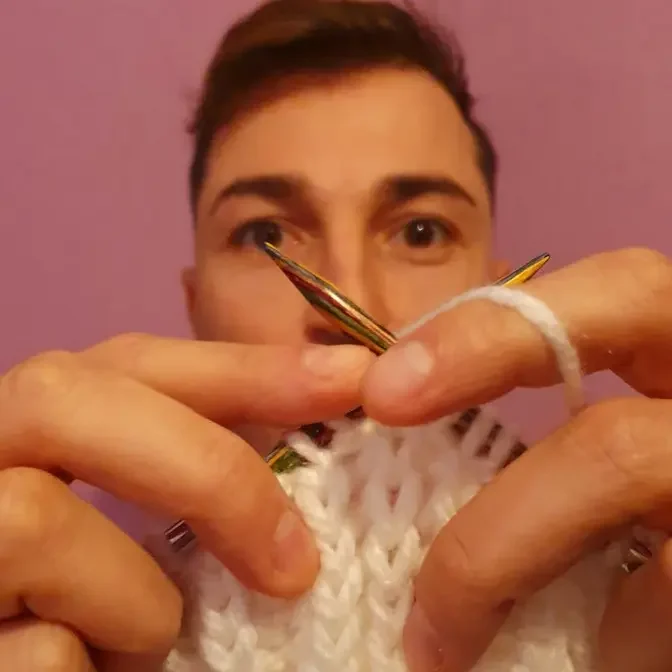
Hello everyone in this tutorial we are learning how to knit this hat for adults with 57cm. Head circumference.
We Follow me:
instagram: https://www.instagram.com/diywithemil
blog: www.diymodaconemil.com 110 gr. of bulky yarn and 6mm. knitting needles.
#howto #knit #hat
Hello everyone, welcome back to my channel. My name is Emil and today we are going to knit
this hat for adults. So let's get started. To make this hat for adults with 57 centimeters
head circumference what we are going to need is about 110 grams of this bulky yarn.
Recommended to knit with 6 millimeter needles and we are going to work with 6 millimeter
knitting needles. We are also going to need a craft needle and the scissors.
So let's get started. Well, let's get started casting on 62 stitches on the needles and we
have to do it in the way that we need to leave about 30 centimeters of tail which we are going
to need for the sewing part. And then what we are going to do is continue with the ribbing stitch,
ribbing 1x2, which is knit one, purl two. So first we're going to start with the very first stitch,
which is the border stitch and we're going to knit it. Then you have to know that we are not
going to work anymore the first stitch, it's a border stitch. And then we're going to continue
with knit one and purl two. One and two. This is the ribbing 1x2, which is knit one, purl two.
Again, knit one and purl two. One, two. So this sequence we are going to keep for all the rows.
So we're going to continue with knit one and purl two until the end of the first line, of the
first row. Knit one and if everything is going okay we should finish the line with knit one and
purl two. One complete sequence in the last three stitches before the border stitch and the border
stitches purl one. And let's continue with the wrong side. We are going to slip the very first
stitch. As I told you the very first stitch is a border stitch and we are not going to work it
anymore. And then we are going to continue with the sequence of knit two and purl one, which is
the opposite sequence of the right side. Again, knit two and purl one. This is the wrong side,
the second row of the label. And we are going to repeat this sequence in the rows number two,
four, six and eight. And again, it's purl one and knit two till the end of the second row,
the wrong side. Well, let's go over the second row with knit two and purl one before the border
stitch on the wrong side. And on the wrong side the last stitch is purl one as well.
And these are the two first rows of our ribbing stitch and we are going to continue until we have
the eight rows of the ribbing stitch, two by one. Oh, sorry, one by two. Knit one and purl two.
So, let's continue with them. Well, once we have the eight rows of the ribbing stitch what we are
going to do is continue with two rows of the stockinette stitch, which will help us to fold
this part over the main part of the hat. So, let's continue with them. So, for the stockinette stitch
we are going to knit the row number nine. We are going to knit all the stitches. So, we are going
to slip the very first stitch, border stitch, slip stitch and then we are going to knit all the
stitches of the row number nine. Knit all of them till the end of the row. We are about to go over
the row number nine, which is the first row of the stockinette stitch, the last stitch, purl one.
And then we are going to turn and continue with the second row of the stockinette stitch,
which is first stitch, slip stitch and then we're gonna purl all the stitches on the wrong side
for the stockinette stitch, the second row. Purl all the stitches till the end of the row.
So, we are about to go over the the second row of the stockinette stitch, which is purl all the
stitches till the end of the row, row number 10. And these are the two rows we are going to need
to fold the ribbing stitch. So, let's continue with the main stitch of the hat and you have to know
that there are only two rows we are going to repeat for all the way till the end of the hat.
And we have the next sequence on the right side, which is we have to work four stitches. One,
the slip stitch, two, three and four. We are going to count these four stitches as knit four
and then we are going to make purl one. Then again knit four. One, two, three, four and purl one.
Again knit four. One, two, three, four and purl one. This sequence we are going to repeat for
all the way of the row of the rows on the right side of the hat. One, two, three, four. Knit four
and purl one. Again. One, two, three, four and purl one. So, let's continue with all the way
till the end of the row. You need to pay attention how we over the row. One, two, three,
four, knit four, purl one and we over with one, two, three, four, knit four, purl one,
knit one, purl one. We are going to over always after the last sequence of knit four and purl
one with knit one and the border stitch. So, the sequence of the wrong side it will be the very
first stitch, slip stitch and then we are going to continue with the sequence of knit one, purl one,
knit one and purl two. One, two. Again knit one, purl one, knit one, purl two. One, two. So, we got
sequence of five stitches for all the way of the wrong side which is knit one, purl one, knit one
and purl two. One, two. Again knit one, purl one, knit one and purl two. One, two. And we keep this
sequence for all the way of the wrong side till the end of the row. Again knit one, purl one,
knit one, purl two. One, two. And we got six stitches to over the row and there knit one, purl one,
knit one, purl two. One, two. And the border stitches purl one as always. So, these are the two rows we
are going to repeat for 17 times until we have 34 rows. So, we are going to start again with
the sequence of the right side which was slip stitch. One, two, three, four. Knit four and then purl
one. Again knit four. One, two, three, four and purl one. And this sequence we are going to repeat
for all the row of the right side and then if you remember the wrong the wrong side was
knit one, purl one, knit one and purl two. So, let's continue with the 34 rows of the main stitch of the
hat. So, let's continue with them. Well, this is how it looks like after the 34 rows of the main
stitch of the hat which was the most stitch with columns of stockinette stitch. And what we are
going to do now is cut the yarn about 35 centimeters will be absolutely enough. And what we are going to
do is pass the yarn through all the stitches and then we're going to continue with the sewing part.
Well, we're gonna pass through all the stitches the yarn with the sewing needle and we're gonna
remove the knitting needles. Well, this is the wrong side and this is the right side. So, we are
going to sew on the right part the hat and what we are going to do first is look for the very first
stitch on the opposite side here and we are going to look for the very first knot on this side.
We're gonna pass the needle under the first knot and then we're going to look for each knot
we made in every row. So, this one will be the first knot of the border stitch. Then we're gonna
search for the next one on the opposite side which will be this one. Again to this side the
next one will be this just under the border stitch. We're gonna pass under the border stitch
the needle then on the other side under the border stitch. Again on this side and this is how we are
going to continue all the way till the end until the top of the hat and just every few
knots we have to pull the yarn to close the hat again. The next knot on this side the border stitch.
Every border stitch we made makes this knot. So, we're just looking for the for the knots
under the knot on this side and the opposite side.
These are the last stitches on both sides of the of the hat and what we're going to do now is
tie both tails we've got on sewing part and from the top of the hat. Pull the tail from the top of
the hat which we passed through all the stitches and this one we are going to tie with the tail of
the sewing part and we're going to continue with the pom-pom. To make the pom-pom what you're going
to need is two circles of seven centimeters diameters and what we are going to do is
around the both circles we are going to roll up the very very very long tail until we'll fulfill
the the circle in the middle. You can help yourself to roll up around the circle with
the craft needle until we fulfill the the hole in the middle and then what you're going to do is cut
the yarn in the border between both circles just in the middle of both circles you're going to cut
all the yarn we have rolled up around and then with another tail we are going to pass through both
circles and tie it and now what we need to do is just tie the pom-pom to to the hat
and this is how it looks like the hat I hope you really like it and if you have any question
don't hesitate to do it in the comments below and don't forget to subscribe bye-bye