
Homemade Almond Milk (Nut Milk Maker) - Let's Make It!
Hello, welcome to Cook With Me Gluten-Free. I'm Robin. Thank you so much for being here.
If this is your first time here, I make things that are gluten-free, sometimes from scratch, sometimes prepackaged.
I try things that are gluten-free, things that you can find on your grocery store shelves or in the freezer department,
and I give them a taste and let you know if it's any good.
So if that sounds like something that you're interested in, please like this video and subscribe to the channel so you can get more
gluten-free content. Today, we are going back, by popular demand, to the milk maker, but this time, we are going to make almond milk.
Now, I thought that my oat milk was good. I thought it was good, and it is good. I used it in recipes. It was perfect, until I tried the almond milk.
And I'm somebody, if I'm going to go to the refrigerated department at the grocery store, I would reach for the oat milk before the almond milk.
But after making it myself, the almond milk is, like, so, so good.
I was very impressed with this nut milk maker. Again, Agria, not sponsored, totally bought it from TikTok shop.
When I tried it with the oat milk, that was the very first time that I had used this, and I was super duper impressed.
So, I'm going to show you my almond milk recipe that I feel like is pretty foolproof, if you follow these instructions.
And grab one of these nut milk makers. I know there's several different companies that make them.
So, let's head over and take a look at what you're going to need to make a great batch of almond milk.
So, outside of your nut milk maker, you are going to need raw almonds.
And I use about one cup of raw almonds in my recipe. I believe in the manual for the nut milk maker itself, it says 60 grams, but one cup works for me.
Ideally, you'll soak your almonds overnight.
These are still soaking, so I will drain the water off of these before I put them in the nut milk maker.
You want to get rid of all of that starchy water and make sure that they are drained prior to putting them in the machine.
I mentioned this in my oat milk video, that when you're adding the water to the machine, you should add it at the halfway mark.
There's a minimum and a maximum. I've already measured mine out, so I know, because I've made the milk several times, that four cups is my halfway mark.
I'm going to use one large pitted date, one tablespoon of vanilla, and a half a teaspoon of regular salt.
Then I've got my mason jar for storage.
This time around, I'm going to use a nut milk bag, so I am going to use this to strain my almond milk.
It comes out better than using the colander like I used for the oat milk.
It's just a lot finer, and it gives me a better result. I mean, that's just as easy.
And I've got a pitcher, which is where I will drain it into.
I like these bags. I can link the Amazon link below to the ones that I got.
I like them because they have a drawstring, so when I do put them inside the pitcher, I can tighten it up.
See there? I can tighten that right up, and so that's helpful when I'm pouring the contents into the pitcher.
And that is all. That's all we need to get this milk started.
I think the oat milk only takes three or four minutes. It's eight minutes for the almond milk.
I start with the water. There we go, right at the halfway mark.
I'm going to get these drained and rinsed, and be back to start the milk maker.
One thing I didn't mention about the almonds. Ideally, you'll soak these overnight.
That's the best. I find that a minimum of six to eight hours works best.
If you don't have that time, you need at least four hours, but you can put them in kind of a, not hot water,
but like a warmer water, and they will soften up a little bit faster.
So I just use one pitted date. If you like a sweeter almond milk, then you would want to use more than one.
Let's get this open, and I like to use a large one. This is a good size right here.
Just drop it right in, and then your last two things, your salt and your vanilla, and it's just that easy.
I just don't understand why I wasn't making my own milk before. I didn't know it was this easy, to be honest.
So on this particular machine, you have your menu options, and you're just going to select the one that you want,
which is nut milk in this case, and you'll see it's eight minutes.
I'm going to go ahead and press the start button. It's pretty loud, so I will see you after eight minutes.
Eight minutes have passed. The only thing I've done is taken out the cord.
So I am going to open this for the first time on this batch, and it is so frothy and foamy.
Look how beautiful that is. It's just amazing.
So what I'm going to do, as I said, is I've got my nut milk bag here that's going to strain everything out.
I make it so that it doesn't go all the way down to the bottom.
So I want it to kind of be positioned a little bit towards the top where I tighten it up, and I just hold on to the bag as I pour.
And I use the pitcher on one side from the nut milk maker to help me secure the other side,
so it doesn't fall down all the way to the bottom.
But you can just see how amazing this is.
Look at the thickness. It's really incredible.
And it is going through. It's straining through the bag, and then I just kind of hold on to it on the side so it doesn't all fall inside.
There we go.
And I pull it up just a little bit like this, and I'm going to let this hang for just a moment, and then I'll be back.
So I just kind of let this hang over the pitcher until it gets to kind of a slow trickle.
And once it starts to get to a slow trickle like this, that's when I start squeezing on the bag.
And you can hear it all just kind of coming out.
And you're getting the best of the best.
Now, is this a little bit messy? It is. It's a little bit messy.
So you want to make sure you have really clean hands before you start this process.
I really like these bags. I think they do a fantastic job.
One thing about the almonds.
If you have not soaked your almonds, it's not a deal breaker.
You can just use regular raw almonds straight out of the bag.
You just get a better, to me, a better, a more creamy result when you do use soaked almonds.
So the longer you can soak them, the better.
I wouldn't soak them more than, I would say, 10 or 12 hours for the best result.
Okay, let me dry my hands off here, and I want to show you what the pulp looks like.
I feel like I strained mine pretty good.
I don't need to strain it anymore, but I want you to see what that looks like.
So easy enough. We got it all out.
And now, from there, I don't double strain because this cheesecloth does the job.
And then I just pour that right into my large mason jar.
And look how much you get. Look at that.
That's just enough for me to put in the refrigerator and just enough to pour myself a glass to taste with you.
Okay, we'll be back for the taste test.
How incredibly easy was that?
So, so super easy.
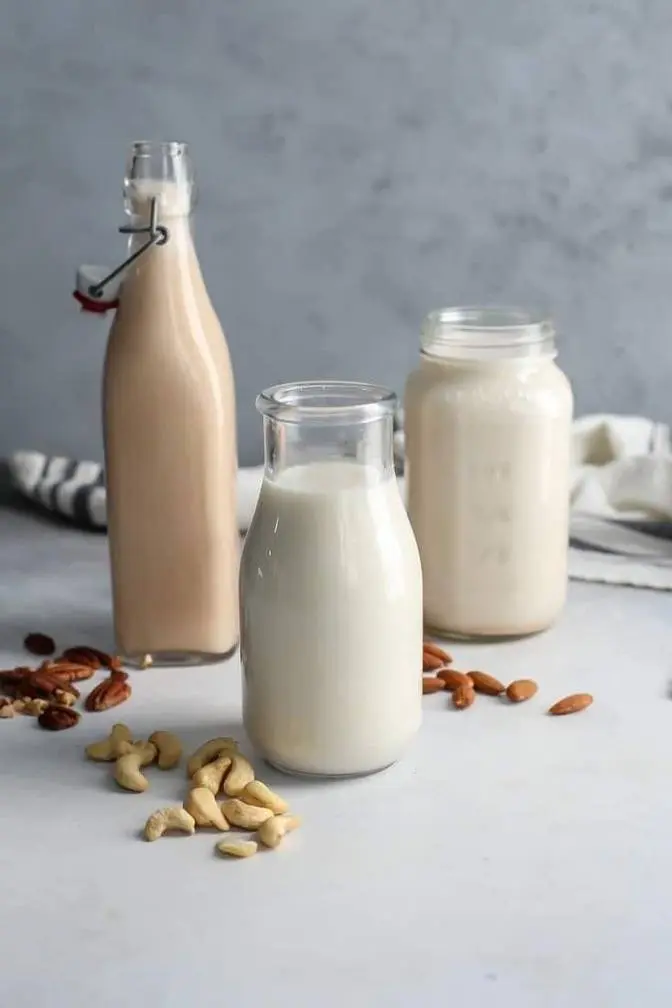
This is a quart-sized mason jar, and look, it's completely full.
So this will go in the refrigerator.
Don't be alarmed if you've not ever made your own milk.
It's going to separate.
But all you have to do is give it a good shake, and it reconstitutes.
This is good in the refrigerator, roughly five days.
But I use this, again, to cook with.
I use it in cereal.
I mean, whatever you would use milk for.
Coffee.
The oat milk makes an incredible latte, and so does the almond milk.
It gets so creamy and so foamy.
All right, here we go.
Look at how beautiful that is.
When I tell you this almond milk tastes better than any other almond milk I've ever had, it's so good.
Now, some people may think they need a little bit more vanilla.
Some people may use a little less salt.
This is a half a teaspoon.
You may want to start with a quarter teaspoon.
A quarter teaspoon wasn't enough for me because I like to be able to taste the flavor.
So half a teaspoon works good for me.
I think that the next time I make it, I'm going to use two dates instead of one,
just so I can get a little bit more sweetness to balance out the salt.
But I just try different things.
It all works.
But like I said, it works so well with cooking.
It's just so good.
Thank you so much for joining me on another Cook With Me, gluten-free.
Don't forget to like and subscribe.
And I hope to see you back next week.
Bye.