In our 4th Van Build series video, we share all of the roof elements of our van: our MaxxAir fan, Renogy solar panels, and our Aluminess ladder. Here are all of the links to the products we bought/items we used to install these elements.
If you just want to watch one part, here are the time codes for each item: Fan- 1:17 Solar- 2:30 Ladder- 5:56
SOLAR PANELS We have 4 100 watt compact design solar panels from Renogy. We installed these in series and purchased their wires and solar charge controller, which we will cover more when we do electrical.
To make each solar panel bracket we used: 1-1/2" x 1-1/2" x 1/8" Aluminum Angle (cut to be the right length to connect the solar panels and rails--we bought 3 total for all panels) 18-8 Stainless Steel Nylon-Insert Locknut, 5/16"-18 Thread Size LDPE Unthreaded Spacer, 3/4" OD, 1/2" Long, for 5/16" Screw Size 18-8 Stainless Steel SAE Washer for 5/16" Screw Size, 0.344" ID, 0.688" OD 18-8 Stainless Steel Hex Head Screw, 5/16"-18 Thread Size, 1-1/2" Long, Partially Threaded Sandpaper, acetone, and bedliner
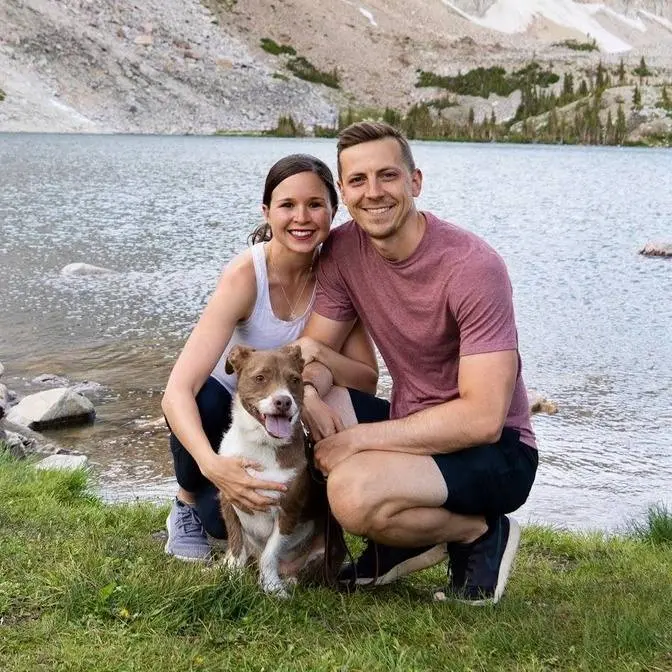
ABOUT US Hi y'all! We’re Adam and Kathryn, an adventurous married couple living in a Sprinter van! You can often find us scoping out the best coffee shops, eating tacos, climbing mountains, cuddling our fur child Kona, and dreaming about Hawaii.
We created Adventures of A+K to help busy, budget conscious, and adventurous travelers maximize their vacation time and money wherever they go through detailed travel guides, vlogs, and resources. Our goal: to help you spend less time (and stress!) planning your trip and more time enjoying it!
We will be sharing 1-2 travel vlogs a week, so please SUBSCRIBE to follow along on our adventures! :) ____ Note: We’ve linked a handful items so you can see exactly which products we take with us. Full disclosure--if you click on these links and make a purchase on Amazon, we get a small commission at no extra cost to you. We will only ever recommend products we truly love, actually use during our adventures, and think you can benefit from too!
Raise the roof! Raise the roof! We finished the roof of our van!
So after a month of being back in Seattle, I'm finally in Austin to work on our van again and
I'm really excited to be here. We've gotten a lot done the past few days and I'm excited to
share it with you. So in this video, I'm going to share everything on the roof and on the side of
the van. So our fan, our solar panels, and our ladder. And since I'm going to hop between each
one, I'm putting like the time codes below and in the description in case you just want to see
one aspect of it. So before I begin, I wanted to just kind of give some clarity around what our
YouTube channel is. We hope to not be confusing, but we feel like right now we're kind of confusing
on like what our mission is. So first and foremost, we are a travel vlog. We want to share our travels
with everyone, but since we're building the van, we really want to share that too, since that's
kind of our our vessel to travel more in the future. But since we can't work on the van full
time, we also can't travel full time, we're kind of hopping between travel and van videos. So
please be patient with us. Once we're on the road, there are going to be tons of travel videos. We'll
talk about life on the road in the van, as well as share all the cool places we get to go. So
thank you guys for following along. We really appreciate it. I promise things won't be so
hopping back and forth soon. So the first task we did on the roof was the fan. And having a fan is
important to just have more air circulation, hopefully cool things off a bit. We got this
Maxxair fan, which has a rain shield, a fan and a vent. It doesn't have a remote, but it has this
little handle right here where you can open it and close it. Kind of see right there, it's opening up
and then closing back down. This is what it looks like when it opens itself up. Lots of leaves,
really great ceiling job. Whoops. We placed it in a spot because of all the kind of ribs on the
roof. And this was the only flat spot. Kind of wish that we could have moved it back more towards
where our bed will be, but too late now. So hopefully it works out okay. So Adam actually
installed the fan our first weekend with the van. I unfortunately was working, so he had to do it by
himself with the help of my dad. And unfortunately, we just didn't get the best footage of actually
putting it together. We missed quite a few steps when filming it. So as we've learned, vlogging
while building a van by yourself is very challenging. So instead of sharing our step-by-step process
here, we're going to list all of the steps below in the description and we're going to link to a
YouTube video that helped us a ton when getting the van all set up. The next big task was installing
our solar panels, which just like everything with the van build, proved to be a little bit more
challenging than we thought it would be. We have four 100 watts compact design Renogy solar panels.
We got three right here and then one right here with the fan. We struggled to figure out the best
way to attach the panels to the van. We had these rails installed when we picked up the van and
unfortunately, we couldn't afford one of the nice racks to put the solar panels on. They're about
four thousand dollars. So instead of getting one of those, we had to come up with our own homemade
option. So here's what we did. We bought these stainless roof rack sliders, which is such a
tongue twister from Euro Camper, and they basically just slide into the rails that we already had
installed when we bought the van. And that way we don't have to drill into the van or drill into the
rails, which is awesome. And then we bought these aluminum angles, which were obviously aluminum at
first, but we sanded them down and sprayed them with black bed liner just because we think it'll
look a little bit nicer from afar when you're looking at the van. And so what we did is we cut
these to be the exact size we need to attach to the panels and then attach to the rail. And then we
drilled in holes where we will be attaching everything. So there are some existing holes
on the solar panels, and we read that drilling into the panels can void the warranty. So we were
trying to avoid that at all costs. So we're using the holes that exist. So these two holes align
perfectly with the holes on the panels. And then this hole lines up with where it will meet with
the rail. So no drilling involved, which is awesome. So one thing that's good to know is the top of the
van is not flat. It's kind of curved and there's kind of some ribs at the top. So in order to make
sure the solar panels lay flat, we have added spacers to both the solar panel attachment and
rail attachment. And this is what it looks like. So we use boxes to lift up the panels so we can
start connecting the wires. And it's pretty self-explanatory. You just kind of connect the
positive to the negative. Connect them like so. We're also using zip ties to hold the wires together.
Our next step is to use this cable clam, which looks like this, to drill a hole in the roof. That
way the wires can go down so you can wire everything on the inside. So first we're just
going to mark the holes where we need to drill this little guy. And this is what it looks like when
it's done. So it suctions it so much that water cannot get through here. It's actually made for
boats, so we feel pretty confident that we will be water-free from the roof. And they're up!
These solar panels will be powering the batteries inside the van, which will power our refrigerator,
our outlets, and anything that needs power. We have two lithium-ion batteries from Renogy,
which we'll cover in a later video when we tackle electrical. But these solar panels are going to be
the way that we work full-time in our van and have, you know, our laptops charged,
our cameras charged, and everything. So they're going to be awesome. And the final task for the
roof is the ladder. So we got this ladder from Illuminesse, partially because we just like the
way it looks on the van. It looks pretty cool, but also so we can get up to the top easily to clean
the solar panels and just any other reason we would need to get up there in case something
gets messed up. This task was pretty easy and quick. Here's how you do it. So the first thing
we did was attach the bracket to the bottom of the ladder. For the next step, we secured the
brackets for the ladder at the top. These aren't like the permanent attachments that we're going
to use, but just to hold it in place. And this should be 13 inches apart. So next, we put the
ladder up and put it in its spot and clamped it and are holding it. That way we know where we need
to drill the holes. Something that's super important to know is you need to put these in
the rails while you're putting in the solar panel ones. That way they're in there. Otherwise, you
won't be able to get them into the spot you want. And it turns out Illuminesse sent us the wrong
bolts. Since they sent us the wrong bolts, we're just using the ones they did send to hold this
into place for right now until I can go buy the new ones in a little bit. And then we will get
this thing all secured. So you drill all of the holes and then bolt them on in. Then we put the
ladder on the bracket and secure it on up. So this is a cap screw, which is what was supposed
to come with the ladder, but they sent us the wrong thing. So we're into Home Depot. Now we're
going to finish off the ladder. We have a ladder. Now it's time to test it out. And that's a wrap
on the roof of the van. It feels awesome to finally make some progress on this bad boy. It's
been sitting here for a month, just untouched, waiting for someone to love it and work on it
and turn it into a home. So I'm really glad to be here to get some major stuff done. Our next step
is to spend the next couple of days working on the plan. So drawing out plumbing, electrical,
how we plan to build the cabinets, the bed, the walls, all that fun stuff. So I'll save you from
that boring video. And hopefully when I'm back next week, I'll be able to actually show you
building stuff inside the van. So I'm hoping to actually get some stuff
up on the walls next time. So fingers crossed. And in case you missed it, we named our van
brisket, which rhymes. Poet and I didn't know it. So we named our van brisket for a few reasons.
One, we love barbecue, especially brisket. And now that our van's named brisket, we want barbecue
significantly more. So it's making us hungrier, which isn't a surprise. We also named it brisket
because we are in Texas. We're building our van in Texas and it's going to be an official Texas
van. So it's a very Texas kind of word. And then lastly, we named it brisket because cows are big
and black and white like our van. However, we know that brisket doesn't come from those kinds
of cows. We want to make that clear, but it's a thought that counts, right? So that is the end
of our roof vlog. We hope you enjoyed it. We hope you learned maybe a thing or two and I'll see you
next time. Bye. Okay. I'm ready. Hold the shaft. There you go. That's what she said.
Yeah.