
How To Make Almond Milk At Home (The BEST Way)
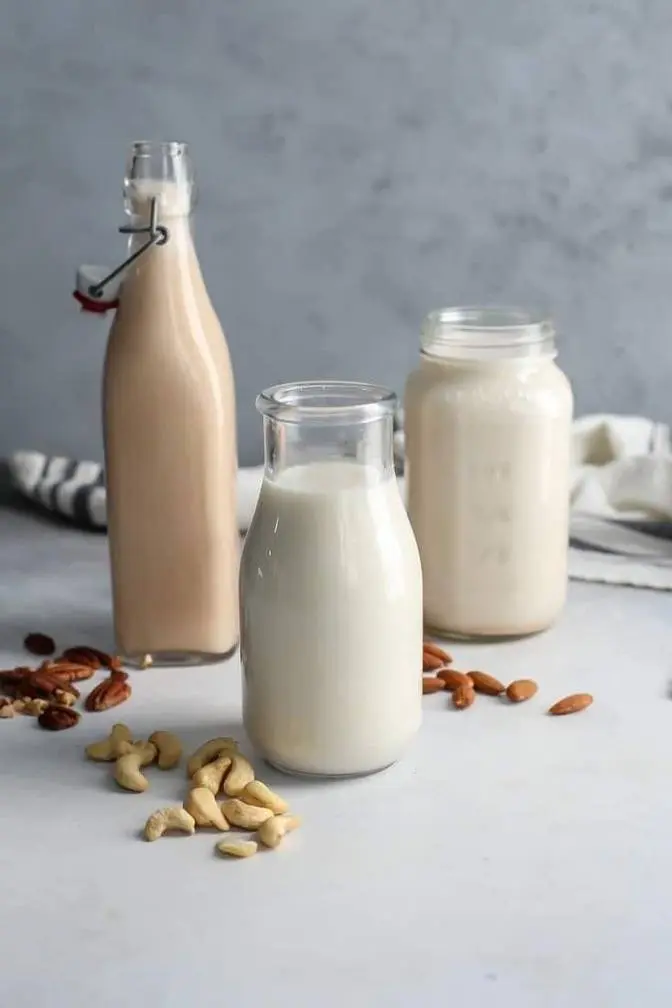
Here's how to make almond milk at home so you can save yourself $400 per year and stop drinking
nasty chemicals. But first, did you know that there's actually two ways to make almond milk?
There's the boring old way, which people have been doing for decades. Most people who do it
this way give up and go back to drinking store-bought. And then there's the new way,
which tons of people are switching to. Faster, it's easier, and it's less messy.
Once you learn about it, you'll never go back. Before I reveal the newest, best way to make
almond milk, let's start with the old way, which still works. You'll need one cup of raw almonds,
a blender, a nut milk bag or cheesecloth, a large bowl for straining, some salt, some sweeteners like
dates or maple syrup, and some bottles to store them. That's not a huge list, but this process
itself is where things start to get messy. The first thing you need to do is soak your nuts.
Damn, that sounds wrong. So why soak your nuts? First, soaking activates enzymes that makes
nutrients easier for your body to soak up. Personally, I don't think this is a big deal.
Second, soaking removes some of the phytic acid and enzyme inhibitors, which can make almonds easier
for some people to digest. But the real reason most people do this is because it softens the
almonds, making them easier to blend, which gives you a creamier final product. For the best results,
you'll want to soak your almonds overnight for at least eight hours. Just put them in a bowl,
cover them with some water by about an inch, and let them sit in your fridge or counter.
Some people like to add a pinch of salt, which can help with the enzyme activation process.
After soaking, you'll notice the almonds are plump and the water has turned slightly cloudy.
Don't freak out. That's perfectly normal. Now, this is where people go bat ---- crazy.
Tons of people ask me if you need to peel the almonds. So after soaking, the skins get loose,
and you can remove them by squeezing. Peeled almonds give you a smoother, less bitter milk
with a slightly lighter color. It also helps remove some of the grit. But let me be real
with you here. Ain't nobody got time for that. And the truth is you don't have to do it. I tried
it once and it didn't make a huge difference to me. Once your almonds are soaked, it's time to
blend, drain and rinse your almonds thoroughly, and then add them to your blender with four cups
of fresh filtered water. Now, a ratio of one cup almonds to three to four cups water gives you a
consistency closer to regular milk. And we're going to add more ingredients so it doesn't
taste like cardboard. Two tablespoons of maple syrup and a tiny pinch of salt is all you need.
Blend on high speed for about two minutes. Now for the fun part. And by fun, I mean the messiest,
most annoying step in the entire process. Place your nut milk bag over a large bowl and slowly
pour the mixture. Grab the edges so that it forms a ball. Then what you're going to do is gently
squeeze the bag and extract all the almond milk. Don't squeeze too hard. Otherwise, you'll push
pulp through the bag, which will wind up in your glass and you don't want that. This is going to
take about five to ten minutes. If your hands aren't tired and covered in almond milk, you're not
doing it right. What you're left with is a bowl of fresh almond milk and a bag of goopy almond pulp.
So there you go. Simple, effective, but a bit of a pain in the ass. Now, stay with me here because
there's actually a better way to do this. Yes, that's right. A newer way to make your almond
milk from home that's cheaper, faster and easier. This right here is a plant milk maker. It's kind
of like a blender, except it has a built-in strainer that's specifically designed for nut
milks. The best part? There's no soaking your almonds overnight and there's no getting your
hands dirty and there's no mess. I've tested just about every plant milk maker you can think of and
this one is hands down the best. It's called the Nama M1. Instead of telling you how much better
it is, let me just show you. I'll unscrew the cap and add one cup of raw almonds, four cups of
filtered water, our two dates and a pinch of salt. Next, you just close the lid and you press the
button. And under one minute, you've got fresh almond milk ready to go. The key difference between
the old way and the new way is the pulp. Let me show you what I'm talking about. Here's a squeeze
test. The old method was dripping. The Nama M1 was bone dry, almost crumbly in comparison. First,
drier pulp means better extraction. You're not wasting a single drop of liquid from your almonds.
Second, drier pulp is much easier to bake with, which brings me to my next point. No matter which
method you choose, don't throw away that almond pulp. It's perfectly good food that you've already
paid for. My favorite way to reuse the leftover pulp is to make Masha protein balls. These are
perfect energy boosters to eat just before a workout. They're packed with tons of fiber, nutrients, and
protein. Now, whether you've made your almond milk the old way or the new way, you really shouldn't
ignore this next part. Otherwise, you might wind up with terrible stomach pains. Always store
homemade almond milk inside an airtight container in the fridge. Mason jars work great too, as do
glass milk bottles with tight-fitting lids. If you've got the M1, the container has a rubber
gasket to prevent air from getting inside your almond milks. Now, homemade almond milk stays
fresh for about three days, and you know it's gone bad when it develops a sour smell, thickens,
or becomes slimy, or tastes funny. The shorter shelf life means you should make smaller batches
more frequently rather than trying to make huge batches that might go bad later. And trust me,
you do not want to drink spoiled almond milk. I made that mistake once, and my stomach was not
very happy about it. And if you've ever made almond milk at home, you're gonna see some separation,
so don't freak out. Store-bought almond milks stay perfectly homogenized or mixed thanks to
their additives and stabilizers. Homemade almond milk doesn't have any of that crap, so separation
is perfectly natural. Just give your milk a good shake for each use, and you're good to go.
Now, we gotta talk money, because besides allergies, it's a perfect reason to make almond
milk from home. Store-bought almond milk costs around $3 to $6 per carton. It just depends on
the brand and if it's organic. Let's run some quick math. A 40-ounce bag of almonds is 12 bucks.
That means one cup of almonds from that bag costs $2.40. The M1, or the old method, makes four cups
of almond milk from one cup of almonds, so it only costs $2.40 per batch. If you were to buy a
decent almond milk brand from Whole Foods, it would cost you about $4.40 for four cups.
Alright, so you got two options. The first is the old-school way. It's messy, time-consuming,
and let's be honest, the most reason people go back to buying store-bought. Or you can try the
new way that skips soaking, squeezing, and tedious cleanup. But here's the thing. What I showed you
is just scratching the surface because the M1 can do a lot more than just almond milk.
And there's one feature Nama spent millions on that most people don't even realize it has.
If you want to make homemade almond milk a real habit without wasting time or money,
make sure you click this video.