
Easy Homemade Vanilla Almond Milk Recipe | Raw Vegan, Plant-based
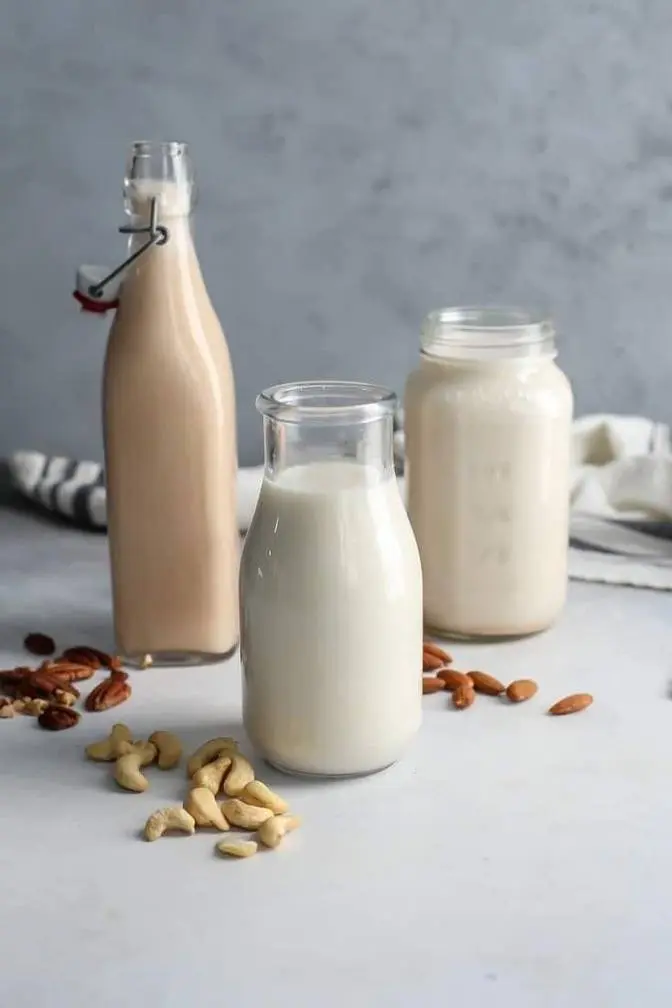
Hey you guys, Erin here at Eat and Move Rest and welcome back to the kitchen.
So we're getting back to the basics today and I'm going to be showing you a delicious
and nutritious way to make your own dairy free nut based milk.
So one of the biggest concerns we have with family members, friends and coaching clients
is I'm lactose intolerant or dairy upsets my stomach.
We are actually the only species that finds it necessary to consume another species secretions.
Ew, right?
It's just not necessary, we don't need it to survive, most definitely don't need it
to thrive.
If you need to cut it and you're missing it, then I recommend switching to almond milk.
So one of the most important reasons why we make our own almond milk at home is because,
well there's many reasons, but it's cheaper, you can buy in bulk and you can make sure
that you're not getting any added chemicals or preservatives, you're getting fully raw
nutrition right here.
There's no pasteurization, nothing bad in it.
So to make your almond milk, the only ingredients you're going to need really are one cup of
soaked raw walnuts and three to four cups of water.
What you want to remember when making your own nut based milks is you want to do a one
to three ratio of nut to liquid or a one to four ratio depending on how smooth and creamy
or more watery you want your milk to turn out.
And on top of that you can flavor it however you like or you can leave it as is.
One of our favorites is to simply add in about a quarter teaspoon of raw vanilla bean powder,
you can also use vanilla extract, and then just a pinch of pink Himalayan salt.
Alternatively, you can get really crazy and have fun with it, you can use cacao powder
and make chocolate milk, you can use strawberries blended in to make strawberry milk, the list
goes on.
No matter what version you use though, this is going to make a fantastic base for smoothie
recipes, you can throw it in your oatmeal, with your cereal, whatever you really desire.
So once you've soaked your almonds overnight or for about six to eight hours, then you
can leave the skins intact if you want to, but if you want a whiter, creamier milk, then
you can remove the skins pretty easily.
Once your nuts are blended until smooth, then you're going to need either a nut milk bag
or cheesecloth to strain your milk.
This is called a nut milk bag, you can get these very inexpensively on Amazon and yes
they are reusable, eco-friendly.
Another alternative would be cheesecloth if you can't find yourself a nut milk bag, but
we're going to go ahead and just pour our almond milk right on in.
Now it's going to take a little bit of muscle here and a little bit of patience to get it
all strained.
If you want to be really savvy with your leftover almond pulp, you can take this and you can
put it in a dehydrator and once it's completely dry, you can toss it in to a small food processor
or blender, blend it up and you've got almond flour or almond meal and you can make all
kinds of baked goods with it.
Your homemade almond milk will keep for two to three days in the refrigerator and if you
care to add just a touch of sweetener, agave is a great option.
So if you guys like getting back to the basics with this delicious dairy-free nut milk, give
this video a thumbs up and if you haven't already, hit that subscribe button and join
us here at the Eat Move Rest fam and make sure you've got that bell clicked, that'll
make sure notifications are turned on, you'll get alerted whenever we put out new content
here.
In the meantime, leave me some love below in the comments, let me know how you like
to enjoy your dairy-free nut milks and follow Dusty and I at Erin Stanzik at DB Stanzik
on Instagram, Pinterest, Twitter, Snapchat.
Until next time, eat, move, rest, your best.
Until next time, nut milk, nut milk, nut milk, or nut milk.
See you guys.