
Why You Should Make Your Own Dairy Free Milk + 3 Recipes (Oat, Almond, Soy)
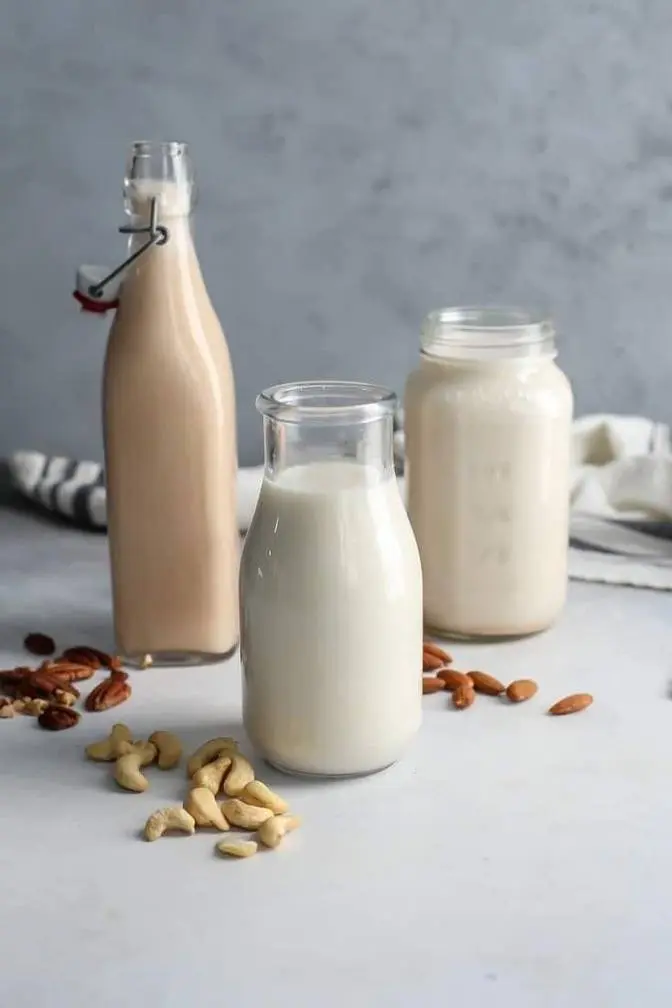
Hey everyone, welcome back to the kitchen for another video.
So as you probably saw from the title, this video is all about plant milks.
I recently learned something about them that will probably shock you.
I know it surprised me and that's one of the reasons why I wanted to make this video and
also why I have started to make them at home for myself.
So I'll share some info about them so you can make an informed choice on if you want
to keep buying them or which one you want to buy.
And then I'll also share some recipes with you on how to make my three favorite at home
I never want to fear monger or contribute to anyone's food fears, but I think it is
important that we know what we are putting into our bodies and how it might affect our
health.
So I don't know if you've ever looked at the ingredients on the back of the labels, but
it isn't usually just almonds and water or soybeans and water.
There are often a bunch of thickeners added, minerals, vitamins, natural flavorings, and
other stuff in there too.
There are definitely some out there that have minimal ingredients, but they seem to be really
tough to find up here in Canada.
And for whatever reason, when you do find them, they seem to be considerably more expensive.
So why you have to pay more for less stuff is beyond me.
I'll never understand that, but that's just how it is.
So I figured because most of the plant milks that I was seeing on the shelves were fortified,
I thought that there must be some regulations here in Canada around the fortification of
plant milks.
But it turns out there aren't, and I think why most companies do this is because they
want the nutrition to match up fairly closely to that of cow's milk.
So fair enough.
I can see that.
But in order to do that, they sometimes have to add some pretty funky stuff to it.
The one ingredient that has come to my attention recently and is somewhat concerning is calcium
carbonate.
So some companies do use a different type of calcium to fortify their milks, but this
seems to be the most common.
So calcium carbonate is actually an antacid that is the active ingredient in most antacid
tablets like Tums.
They usually contain about 750mg of calcium carbonate, and with calcium carbonate being
about 40% elemental calcium, this provides about 300mg of calcium.
And if you look at the label of most plant milks, they generally contain about 300mg
of calcium per cup.
So some of that is going to come from the plant itself, but very little of it.
So I'm no scientist, but correct me if I'm wrong, every time we have a cup of this stuff,
we are unknowingly having the same amount of calcium carbonate that is in an antacid.
We're essentially having an antacid.
So we know that the purpose of antacids is to temporarily lower our stomach acid, and
it does this enough that we don't actually feel the acid coming up anymore, but it doesn't
necessarily stop it from happening.
And low stomach acid can actually lead to some pretty nasty digestive issues, such as
gas, bloating, indigestion, malabsorption of nutrients, and also increase our chances
of gastrointestinal infection.
So the thing is, high stomach acid is important for not only proper absorption, but also killing
many of the microorganisms that can cause infection in our GI tract.
Surprising, I know.
So pause the video right now, go check in your fridge and see what kind of calcium is
added to your milk, and let me know in the comments down below if you knew this.
So it should be said that many of the plant-based doctors that I follow and trust have always
touted these calcium-fortified plant milks as a good source of calcium for those who
might not be getting enough in their diet.
So they are obviously very smart, and I'm not saying to never have these plant milks
because of this, but if you are having some digestive concerns, it might be something
to consider.
Beyond that, there's often quite a few emulsifiers and thickeners added to plant milks, such
as geelan gum and carrageenan, which can actually alter the intestinal balance of
our microbiome, and this can cause inflammation in the gut and seems to be especially impactful
for people that have digestive concerns and things like Crohn's and colitis.
And there are also these synthetic vitamins that are added.
So most of them that are added to plant foods are generally recognized as safe, but if I'm
getting enough of these nutrients from my diet, do I really want to be taking in this
form of them if I don't have to?
I don't know.
And then there's also the natural flavorings that are added, which you will understand
why they add them when we make the soy milk.
But what are natural flavorings?
Well, the regulations and definitions of what natural flavorings can be are pretty vague
here in North America, so I'll put up the one from the FDA here on the screen.
If you feel like reading it, you can pause and have a little read.
And there's also added oils and other things.
So between like the whole antacid thing, all the synthetic vitamins and the emulsifiers
and thickeners and all that, I think there are many reasons why we might want to make
ours at home here ourself.
Or at least look for a brand that doesn't add all this stuff.
Oh yeah, and that's another thing.
These plant milks have become pretty expensive, especially for what you get.
So there are countless foods that you can make plant-based milks out of, and there's
lots of different recipes online.
But today I'm going to show you the three that I consume most.
So I tried a whole bunch of different methods and techniques of the three of these, trying
to figure out like the easiest and most tasty way to make them, and I think that I have
figured it out.
With any of these recipes, you can obviously add a sweetener if you want, like you can
blend dates into it or add maple syrup or whatever you like.
You can add vanilla extract, you can add some cinnamon if you want.
But I'm just going to show you the base recipe so then you can easily do whatever you'd like
with it.
The cool thing about the three of these recipes is that they all take various amounts of effort
and time.
So I'm going to start with the easiest one, which is oat milk.
For each of these recipes, you are going to need a blender.
You don't necessarily need a high-speed blender like a Vitamix, but it does help.
And then you will also need a nut milk bag.
So this is just usually a blend of hemp and cotton.
And if you can find one with like a rounded bottom like this, it makes it a lot easier
to clean because it doesn't have like sharp edges where you kind of have to get out, you
know, all the pulp and that sort of thing.
But yeah, a nut milk bag and a blender, water, and whatever you're making the nut milk out
of, and you're good to go.
So one of the things about making oat milk at home is that it can get kind of slimy,
and we definitely don't want slimy oat milk.
So you want to start with a cup of rolled oats.
So you don't want to use quick cooking oats or instant oats because of the extra processing
that they go through, it can make the oat milk a little bit slimy.
And because oats are one of the most highly sprayed foods, you definitely want to try
and find some organic or at the very least glyphosate-free oats.
They have much higher allowable levels than virtually any other food, so they are always
very contaminated and less organic, like these are.
So pop that into the blender, and then you want to add four cups of very cold water.
And then you just want to let this sit for about ten minutes.
This is going to help the oats to absorb some of the water and make blending easier so you
don't have to blend it for quite as long.
Oh yeah, I just remembered I was going to add another step, and that was rinsing the
oats.
So this helps again with the whole slime factor, but it's not totally necessary, however, you
know, it might be an extra step that you want to take.
Then you just want to blend it on high for about thirty seconds, and if you don't have
a high-speed blender, a little longer, maybe up to about a minute.
And then you want to strain it through that nut milk bag.
So just find a nice big bowl like this, pour it in, and then just squeeze it out.
With this one, you don't want to squeeze the heck out of it like you can with the almond
or the soy milk that's coming up.
You just want to squeeze it enough that you get most of the liquid out of the pulp, and
this will definitely help give you a nicer finished product.
And then just pour it into a nice clean glass container, pop it in the fridge, and let it
cool.
And then you have yourself some homemade oat milk.
So the thing with this is it doesn't last all that long in the fridge.
It lasts three, probably four days max, and the reason why it doesn't last as long as
store-bought plant milks is because they are pasteurized, and that just means that they
are flashed at a really high heat for a short period of time, and basically like sterilized
so that no bacteria or anything can grow in it.
So that is why this doesn't last as long.
Maybe another reason as to why you might want to make it at home yourself, or maybe why
you might not want to make it at home yourself.
So like I said earlier in the video, you can obviously add some sort of sweetener if you
want, add vanilla and that sort of stuff.
What I like to do is just add a tiny pinch of salt, and that just kind of helps to bring
out the flavor, sort of balance everything, and I like to keep it kind of plain because
then you can use it for lots of different things, for like baking, for making sauces
if you want to, and you can always add a bit of maple syrup or whatever to a cup of it
if you want.
It's actually pretty good.
Really mellow, but yeah, just as what you would expect oat milk to taste like.
Alright, so for the almond milk, you want to use raw almonds.
You don't want to use roasted or salted almonds, just plain raw almonds.
You want to soak one cup overnight, and if you're in a rush, you can probably soak for
about one or two hours in hot water, but this is my favorite method.
Strain the water off them and give them a quick rinse.
Next, add it to the blender with four cups of water, and then blend on high for about
45 seconds to a minute, and again, a bit longer if you don't have a high-speed blender.
Then, just like you did with the oats, strain it through that nut milk bag.
And then that's it.
Pop it into a glass container, and you have made yourself some fresh almond milk.
So just like the oat milk, pop it in the fridge, good for three or four days.
Mmm, wow, this one is good.
Definitely the best-tasting out of the three.
With a little bit of maple syrup and maybe some vanilla, it would just be unbelievable.
Comparable for sure to the store-bought one, as far as flavor goes.
So yeah, 10 out of 10 for the almond milk.
So you will be left over with some pulp from all of them, and I'm going to save the one
from the almond milk here.
The oat milk pulp is kind of slimy and gross, and oats are so cheap, so I'm not too worried
about that.
But organic raw almonds are pretty expensive, so I'm going to save this and then incorporate
it into some cookies or something like that.
Pretty easy to use in baking.
All right, so let's move on to the soy milk.
Oh, the soy milk.
So I learned a lot making this one.
I tried a whole bunch of different methods and techniques to try and get it tasting the
best possible, and it's definitely the most labor-intensive out of the three, and it's
probably the least tasty one out of the three.
It definitely has this kind of beany flavor with a hint of grass.
I know I'm not selling it because it is not amazing, and it makes me wonder how they get
the store-bought soy milk to taste as good as it does, because this really doesn't taste
anything like it.
But after trying a whole bunch of different methods and techniques, like I said, I have
figured out the best way to make it that's sort of like the easiest and also provides
you with the best flavor.
So for soy milk, you want to use dried yellow soybeans.
These are different than the green edamame beans.
Edamame is a immature bean.
The yellow soybeans are matured and then dried.
So obviously use organic if you can, and you want to soak half a cup in water overnight,
and I found it best to use boiling water for this because it actually helps you to remove
the skins later on, and also helps to get rid of that beany flavor a little bit.
So any little bit we can to get rid of that bean flavor is definitely helpful.
After at least 12 hours of soaking, you want to do your best to remove the skins from the
soybeans.
So you don't have to get all of them off, but you do want to try and get as many off
as you can.
So this part is definitely a bit tedious.
The best way that I've found to do it is to have them in the soaking water, and then just
sort of like split them in half with your hands, or just sort of like rub that seed
coating off somehow, and then you let a whole bunch of them accumulate in the water, and
then once you have a whole bunch removed, then it's pretty easy to sort of get them
off because they kind of tend to float and the beans tend to sink.
Once you have all the skins removed, then strain all the soaking water off the soybeans,
and then give them one more rinse.
Add the soybeans to a blender with four cups of water, and then blend on high for about
30 to 45 seconds, longer if you don't have a high speed blender.
Then add that straight into a pot.
So I find it helpful to kind of skim off all the bubbles that are on the top, because you
need to bring it to a boil, and then bring it down to a simmer, and if it's all kind
of bubbly on the top, it's really hard to tell what's happening down there.
So get that stuff off of there, and then once it gets up to a boil, you want to turn it
down to a simmer, and keep it there for about 20 minutes, and you're going to have to stir
this pretty consistently, or else it's going to burn to the bottom.
So there's a couple different ways you can do this.
So you can strain it right after you've blended it, before it goes into the pot, or you can
do it this way, just dump everything in there, and then strain it afterwards.
So you're obviously going to have to let it cool before you strain it, doing it this way,
but I figured this is the best way to do it, because if you strain it first, you're not
really cooking all the soybean pulp and everything into the milk, so you're going to be losing
a lot of those nutrients, whereas if you do it this way, everything's getting cooked together,
and you're going to get a lot more nutrition out of it.
And I tried both ways, and it doesn't seem to make much difference in the end as far
as taste goes.
They're both pretty beany, but if anything, this is actually tastier.
Oh yeah, and I should mention, unlike with the oat milk and the almond milk, you definitely
have to cook the soy milk, because beans, before they're cooked, are very rich in lectins,
and that would be very bad for you if you just tried to drink raw soy milk.
So yeah, you definitely have to cook this.
Yeah, it's beany.
So while you can get away with not sweetening the other two, I find that this one definitely
needs a little something.
So I found that two teaspoons of maple syrup go a long way.
So it doesn't really make it sweet, it just kind of makes it a bit more tolerable.
So it's definitely not that bad, but definitely not my favorite out of the bunch.
But yeah, this definitely does make it more palatable.
But man, it's quite a bit of effort to make soy milk, especially compared to the other
ones.
Alright, so that's it for this video.
Hopefully you learned something.
If you did, definitely hit the like button.
Let me know what you thought of everything in this video in the comment section down
below.
And yeah, let me know if you're going to be making any of these plant milks.
So I hope you enjoyed it.
Definitely subscribe for more, and I will see you soon with another video.
Almond milk.
Okay, let's go.
Okay.