
Workflow in portrait painting. By Ben Lustenhouwer
Mar 29, 2025
Last time I showed you how I cropped this image based on the rule of thirds,
how I made the composition. In this video I tell you about my workflow,
how to start, how to continue and how to end.
I made the image in black and white with these guidelines. I did it on photoshop.
You can copy the picture by tracing, by projecting, also by sketching from the computer.
I will show you this way because maybe it's a help for you.
I copied the size of the image at the same size of my board.
This is a board that I prepared myself. You can see in another video how I did so.
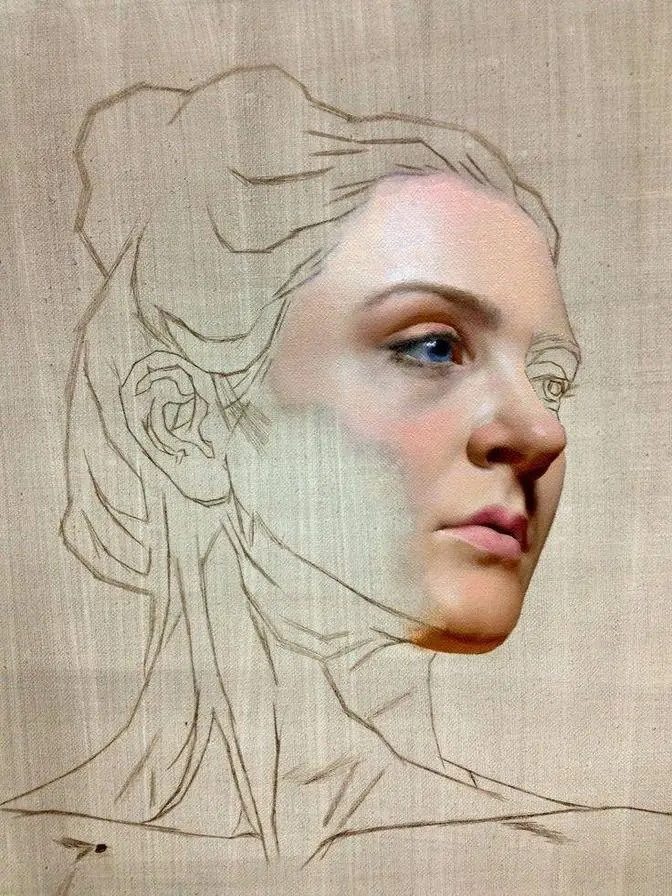
I will start the drawing by using this photocopy.
I do it in red pencil because I don't want to do it in black pencil.
Black pencil always shows through the oil layers although you might spray with fixative.
Pay attention to a good drawing. Painting is difficult enough so
don't be in a hurry. Prepare your drawing as good as possible.
It all depends on a good drawing. Painting is about drawing.
I retraced the drawing in acrylics in magenta. First to nail down again the location of the
details and also a thin wash to have a nice ground to paint on.
I usually work from my monitor, quite good monitor, so I have a good color information.
If you don't have it you can also work from copies.
The only thing I want to say is be sure that the quality of the copies is good enough.
Don't use these home printed pictures. They are lousy, bad color and you can't make a good
painting from a bad copy. My usual palette. Below this video in the description you find
the list of all these colors. Then the four mixtures for the face.
The lightest flesh tone, a little bit darker one, an almost half tone and a light shade.
As always I start with the darkest parts. I want to nail down the tonal values as soon as possible.
Then I give the face and the hands a basic wash diluted with the turps that I rinse my brushes.
Then some accents that must help me to get the tonal values going.
Now I emphasize the eyes and I start applying the right color for the rest of the face.
In a very simple distribution. And I keep the colors as bright as possible.
Now you see I don't finish the face. I put some details around where the cap meets the face.
Some details for the lips. Just simple indications.
I explained why the flower in the other video.
Always make the area around the eyes dark enough. I know that people often forget that.
Now the other dark parts and I try to keep the color bright.
Some playful accents for the coat.
The background darker and back to the eyes again. I don't linger too long at one place.
Little by little I increase the contrast around the face and you can see that I don't stop
anywhere for too long. I think it's important that a painting grows simultaneously.
If you spend too long at one detail you lose sight of the whole.
I think that's very important.
The background gets another thick layer of pure white right from the tube.
Some more contrasts here and there.
And only the very last moment I finish the eyes. I want the left eye to stand out more than the
right eye because I previously decided that I wanted to use it as a focus point.
Well this is the end result. I hope you liked it. If you have any questions write me on my email,
on Facebook, on my YouTube channel. I'll try to find an answer.
My next video might be about how to paint hair. So maybe see you back. Bye bye.