
CHEAP, EASY MASSIVE DIY PLANTER FOR GARDEN / EMMA'S ALLOTMENT DIARIES
May 17, 2021
Hi everyone!
Please VOTE FOR ME in the Great British Growing Awards here: https://www.growfruitandveg.co.uk/awards
THANK YOU!!
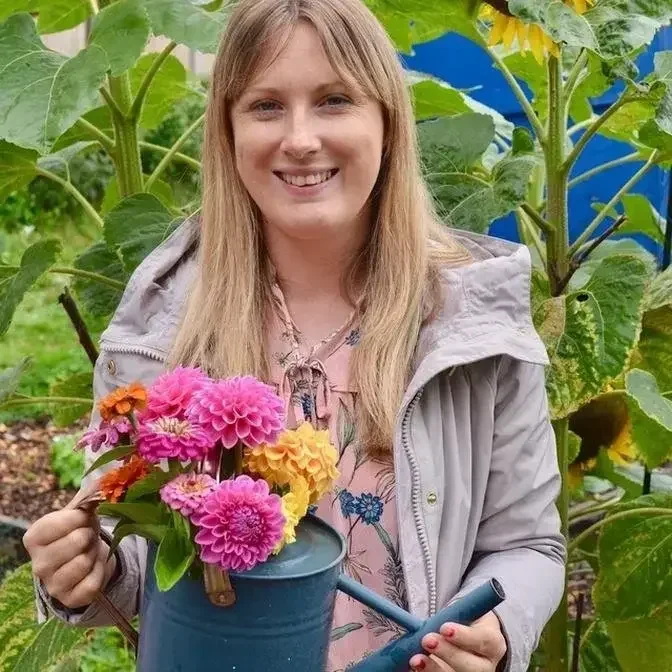
Welcome to my allotment gardening channel. My name is Emma and these vlogs are my allotment diaries. This is my second year on my plot. I'm learning as I go and would love for you to follow my journey by SUBSCRIBING to my channel!
You can also follow me along on:
INSTAGRAM: http://www.instagram.com/emmasallotmentdiaries
FACEBOOK: https://www.facebook.com/emmasallotmentdiaries
Hi everyone, welcome back to my YouTube channel. Today I'm going to be showing you how we made
this DIY planter outside. It was so easy to make, so cheap and I really hope you enjoy the video.
And if you do enjoy this video do consider subscribing to my channel for lots more
gardening and allotment style vlogs. I don't know if you remember our dodgy path at the
back of the garden but this is what it now looks like. So we just put some gravel down basically
and a little um what's it called a weave membrane underneath it. It's quite a cheap solution but
there we go. It's not perfect and we ran out of gravel so I've got some more gravel bags today
and I'm just going to finish making the path and then hopefully you'll see the difference it'll
make. We went with gravel over like paving stones or bricks or anything else just because it's so
forgiving. You don't need to make the ground completely flat, you don't need to worry about
the gradient of this going up because it's kind of on a bit of a slope and it just hides a
multitude of sins really because the gravel just gets into every nook and corner and yeah just
covers it up and just looks really smart and nice. So I'll get on and get the other gravel bags now.
It's complete! I'm so super proud of this, it cost us about 30 quid to do this and it's just a case
of getting all the rocks up, putting some weave membrane down and these are um fence posts that
we've just put either side, filled it with gravel. But later on what we're going to do today is build
a big planter and the planter is going to go just against this fence here and then we're going to
plant it up with some beautiful plants and wood chip the rest of the area around it. So that's
the job for today. This is how far we've got with the the bed frame at the moment looking literally
like a bed, I suppose that's why they call them flower beds. There you go. Serious, come on,
we've got to get this done. It's just holding it up now. Guys the frame is complete, this is the
cuboid we have created and now we're going to clad it, as Dave keeps saying, with this stuff
which is um what is that stuff babe? Uh gravel boards. Because it's cheaper than buying decking
boards, it's cheaper to buy gravel boards. Part 17 of making the world's tallest raised bed ever,
which we did not think would be this tall, but there we go. We're going to start putting the
gravel boards around the bottom to secure it and building it up panel by panel. Such an experiment
by the way, this is not, not saying this is how you should make them but there we go. We're going
to need a lot of compost too, aren't we? Yeah. It's like a coffin. Keep it together, come on,
stay together. I'm talking to you now from within the coffin, I mean flower bed, um yeah it's looking
quite good. We've made it a bit smaller than we thought it was going to be um which means we've
got loads of wood over to make another one. Dave doesn't know that yet, um but yeah I'll show you
what it looks like if I can climb out of it. There it is, we've just made it one smaller so it would
have been another board higher which I thought was too high, so now it's one smaller. It's going to
go up against that, hide all this rubbish on the floor and have beautiful flowers in it. Not
everything we do goes right, this I think's gone pretty well, I'm pretty proud of it. Here he comes,
man of the hour. He's had enough of me. Just in case anyone out there is foolish enough to
want to try and copy what we've done, we made the flimsy frame out of um the flimsy frame out of
these sort of long bits of wood um and then to that we attached gravel boards around um and then
just chopped the top off when we got to the how high we wanted it to be. Then we put these in
sporadically around it to try and keep the gravel board straight and that's it, that's it. I'm
leaving an open bottom for drainage and everything um and that's pretty much it.
Just in case anyone out there wanted to give this crazy thing a go, there you go. The last
last piece of the puzzle is this is this decking boards which are going to go, oh god sorry,
around the top as a bit of a frame, a border around it just to hide all that stuff. You've
seen it'll sort of look like that with a with a thing around it. Right welcome back guys,
the planter is all made um and I've just put in a final layer of brass. I've got some cardboard in
here and I've just clipped some of my grass from the lawn and I've just put that on top as one
kind of final push for some green manure. So there we go, we've also got some of my daffodil clippings
on here as well and I'm just going to top it up with another bag of compost and get planting,
finally in the rain. There we go, we did it, we made it. So I've really gone for plants
to try and attract as much wildlife as possible because that's really important to the kids and
I really want a really nice wildlife area. So I've got some lavender to go along the front which is
going to make a really nice little hedging along the front and attract lots of butterflies and
bees hopefully. So lots of lavender going in. Scabia, scabiosa, this is the kudo pink one,
this is going to have pink flowers. Scabias attract a lot of butterflies because they love
great big wide open flowers so this is a butterfly attractor and I also got the same scabia but in
butterfly blue as a bit of a contrasting colour which I thought might be really nice. I've gone
for an armenia, armeria, I've never had one of these before, it's a deep rose colour which I
really like and apparently it's really good for butterflies and bees as well. You can see the
little flowers here, so pretty, they're made up of lots of them. I've got a rose, this is a patio
rose, it's called the sweet dream and I've gone for a rose because it's kind of a cottage garden
feel and no cottage garden is complete without a rose so I've gone for this colour which is a nice
soft peachy colour. I don't know if you can hear me above the rain now, I'm going to keep going.
And finally I invested in one of these, a cordeline which are, it's mainly kind of a
structure, the architectural kind of look, it's nice and big but also it can tolerate a lot of
cold so hopefully we'll have something to look at when the weather gets a bit cold.
So I'm going to whack all these in now and that's it, exciting, bloody rain.
Right that's what I'm thinking, it's really starting to come down now,
I wonder if I should wait till later, bloody rain.
The bulk of it is in, so we've got the lavenders along the front which will hopefully create a
nice lavender hedge for all the butterflies and things and bees and then we've got the scabies
sort of dotted around with the other one, which I can't remember what it is,
and then we've got this lovely architectural sort of, I don't know if it's a grass or something but
it's beautiful and it's very architectural and gives a lot of structure. We've got the
rose next to it which will take some time to grow but when it does it will be beautiful
and then I forgot that I also picked up this verbena as well and verbena is a really nice
purple flower which will create really really long spires with flowers on and you'll be able
to see through it so I'm going to sort of dot these around a little bit and create,
so you'll be able to see through it if that makes sense, so I'm going to put some of these in.
I don't quite know how these work, I don't know if I've got more plants than I think I have
because they're kind of packed in, now I think there might be one plant per module but I'm not
sure, for instance here I can see that's probably one, no there's not, there's a few seeds, I think
they've just whacked a load of seeds into each compartment, I wonder if I can get more plants
from this. So for instance here, how many plants do you reckon I've got because I reckon there's
two plants there I think but I don't know, maybe I'll just whack it in as one plant and let it do
its thing. I'll whack it in as one plant, I don't want to kill it, it'll grow up nicely there I
think. Right I've broken a couple of the verbena up as an experiment to see if it lives or dies
but I really want verbena and I haven't grown it from seed and I thought it'd be easier to buy
because it was only three quid so a couple of them are broken up, this one here and that one
over there were together and I've sort of ripped them apart but then the other ones I've dotted
about and I've also got some cosmos which will go in this bed but this bed is now done so I'll show
you what it looks like now. That's our DIY massive planter which hopefully will be really nice and
grow up really big and nice and be really bushy and good for animals and wildlife. There you go,
that's what I did. So I hope you enjoy this little DIY gardening project, if you do subscribe to my
channel, stay tuned for more vlogs coming up on my garden because I'm doing a lot of different
things and this area now looks a lot nicer and I hope you're getting out in your gardens too.
Thanks for watching everyone!