
HOW TO PREPARE ALLOTMENT GROWING BEDS / ALLOTMENT GARDENING FOR VERY BEGINNERS
4.9K Video Views·Oct 1, 2024
Hey guys, if you have just got your first allotment plot or you are waiting to get
your first allotment plot and you want to know all there is to know about
growing your own fruit and vegetable on an allotment plot, this is the series
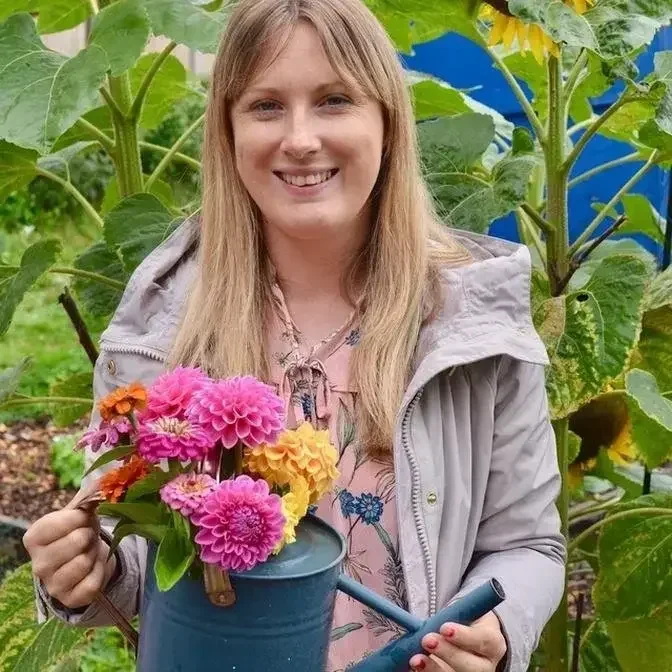
for you. My name is Emma, I have been growing on
my allotment for five years, I started as a complete gardening
beginner and I've taken two allotment plots now from
an absolute jungle to a productive growing space and now I want to share
all of that knowledge with you guys. So if you haven't already subscribed to my
channel, do that, have a look at the other videos in the
playlist and I do hope you find them helpful.
So in this video I'm going to share how to get your growing areas
ready for growing into.
It's up to you if you want to use a raised bed or not, a raised bed would
just mean that the depth of the soil is deeper and you can just add your
compost on top and build it up. I kind of use wood as
more of a structural element just to define the growing areas but I'm really
growing into the ground. Either way is fine, you find what works
for you. You can probably see here that although I have got wooden sides
the soil level isn't that high so I wouldn't really class these as raised
beds, I'm using the wood more as a structural
kind of element just to define where the growing areas are
and then I can make my pathways around them. Whatever you choose to do you are
going to need to improve the soil in order to grow
vegetables in. Vegetables are very hungry plants and they require a lot of
nutrients and so the more you can put into your soil
the better the plants will do. The trick is the soil, it's all
in the soil.
So whenever I carve out a new growing area for myself at my allotment plot and
I do do this quite a lot because I like to change things up,
the first thing I put down is a thick layer of cardboard.
Always use brown cardboard, kind of the matte stuff so nothing shiny that you
would get on a toy packaging or a fish finger packet.
You want it to be matte, you want it to be brown, you want to get rid of all the
sellotape and sticky labels. We don't want any glue or anything
nasty that's not going to decompose into your soil. Why cardboard?
I hear you say, well there's a few reasons for it. First of all
it's a great weed suppressant, the cardboard quite literally smothers
weeds, it stops them from being able to get to the light
and it just completely starves them of nutrients so it's just a great way of
just cutting down all the weeds. Secondly it's quite good at retaining
moisture, you're adding literally a layer of kind of
matte material here so it's going to be really good at retaining moisture in
your soil. And also it's good for your soil, you
can actually compost cardboard and rip it up and put it into your compost heap.
It breaks down as a brown material, the worms absolutely go crazy for it, not
quite sure why, but they do and all of this will help
with your soil structure. Once your cardboard is down and it's
been down for a little while and the weeds have stopped coming up,
you can start to add on top natural organic material.
Things like leaves that have fallen from the tree that you've collected up,
old crops that you've chopped up really small, bags of compost horse manure,
all of these things are great for just layering up on top of the cardboard.
No need to dig it in, it will just pull itself down into the soil and add
goodness as it goes. There's a couple of reasons why we need
to add lots of organic material. Firstly add nutrients, like I said vegetables are
very very hungry plants, so are a lot of flowers as well actually, I keep saying
vegetables but flowers too. So we need to add lots of goodness so
they've got something to feed on, but also it really helps with your soil
structure.
Your soil structure is really really important, think of it as the base
of holding your plants in place. Now if it's too wet and clay-like it's going to
be too boggy for your plants and they're going to just drown in it.
If it's too dry and it just falls like dust, it's not going to retain any
nutrients or moisture, it's not going to do any good for your
plants. So getting the structure of your soil right is really important
and the way to do that is to add lots of organic material.
Right this here is ideal soil structure, if I grab some in my hand I squeeze it
together, it kind of holds in place a bit like a
snowball, but I can break it up quite easily.
That's perfect soil structure for plants, that's exactly what they're looking for,
good drainage but holds moisture. A super great thing to add on top of your
soil, especially in the autumn time, is manure. Now I'm really lucky that we
get free horse manure delivered to my allotment plot here
and it's just so great for adding lots of nutrients to your soil
but also really helps with the soil structure because it's just a great
organic material. There are a couple of rules when you use
horse manure on your plot. Firstly, don't grow into fresh horse
manure. Manure gets really hot, it's going to burn the roots of more
smaller vulnerable plants, so don't grow new
plants and don't sow seeds into fresh horse manure.
The best thing to do is to put it down about six months before you're going to
use it in the autumn time, so I put it down now in September and I
won't be growing into this bed till March-April time,
gives it plenty of time to rot down. Or of course, just use really well rotted
down manure if you can get your hands on it.
Again, I really like to let my horse manure just sit on top of the soil,
the worms will bring it down, the rain will bring it down and it will just
add goodness to the soil as it goes. I'm not so big on digging in.
And that's another thing to think about because I don't like to dig things in, I
kind of follow loosely the no-dig approach to allotment gardening,
which is basically where you layer organic materials in the soil and don't
dig them in. However, this approach hasn't always
worked really well for me, it doesn't work everywhere here.
I had a lot of bindweed on my allotment plot and a lot of really nasty
perennial weeds which needed digging out and for those
beds I did double dig, that way you can really keep on top of the weeds in those
beds, especially if it's a new bed. But once the bed's established, I don't
tend to dig anymore. Now looking after your growing beds is
an ongoing process, you can't just do this once
and then just grow into it every year and expect everything to do well,
you have to keep topping it up with fresh nutrients every single year.
That means fresh compost, fresh leaf mold,
fresh manure, maybe a layer or two of cardboard if the weeds were particularly
bad, it's something you're going to have to do
ongoing. So ideally you would make your own compost,
however not all of us know how to do that
and after five years I still haven't quite mastered it and you're probably
not going to have your own compost straight away when you start out,
so what I like to use are these. A nice big bag of multi-purpose compost,
this is from B&Q, it's 100% peat free which is
excellent for the environment, these will do the job. Here's a little
hack for improving soil structure really quickly and getting a crop out of it,
try growing potatoes. Potatoes when they grow
actually help improve the structure of the soil because the tubers as they
develop under the ground break up all the soil, they add lots of
nutrients to your soil, potatoes are always a great thing to whack
into any new allotment plot and they're tasty too. Here's another
handy hack for you to help improve your soil conditions every year,
if you grow things like brassicas or even peas, instead of pulling the plant
out when it's time to harvest, cut them down and leave the roots in.
The roots will rot down under the ground and add lots of nutrients and goodness
to the soil. Absolutely full of these little hacks
aren't I? Right I hope that helps you to get
started with your brand new growing beds, it gives you a little bit of an idea of
what to do with them. To conclude, natural organic material is
the way to go, once you've defined your beds just whack
on as much natural organic material as you can,
just layer it up, don't even dig it in and your beds will be ready to grow in
in no time. Once again leave me any questions you
have in the comments below and I'll see you again in the next episode.
See you next Sunday guys, thanks for watching. Bye!