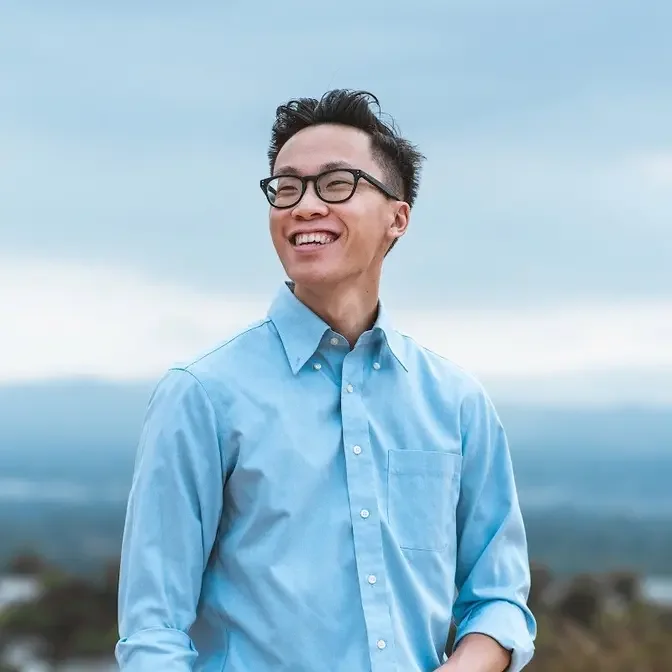
Today we're going over low budget lighting by shooting with only one light for an interview setup. I'm using the Godox VL-150 which is a great low budget light for interview setups.
CHAPTERS 0:00 - Intro 0:27 - Interview Video 1:23 - Background on Interview 1:56 - Gear 2:12 - Interview Lighting Setup 4:30 - Post-production Magic 4:46 - Final Result 5:05 - Things to Improve On/Outro
Welcome back to the channel. My name is Alex Chung. I know it's been a while since my last video. I've
been busy, you know, working for clients and working on different projects here and there,
but today I'm back. I want to break down an interview that we shot for a restaurant out
in Santa Monica called The Victorian. And this interview, we shot it with minimal amount of
gear. We had like one light, two cameras, you know, audio equipment, and that was it.
So let's take a look first at the interview. My name is Josiah Salerno, and I'm the general
manager of The Beach Club at The Victorian in Santa Monica, California. We want you to walk
on property, and the second you step on site at The Beach Club, we want you to feel like you're
somewhere else. In my travels, the best things I can remember are things like the sunset in Oya
in Santorini. We want to take those little moments and put them in a box and bring them back with us,
and that's what we try to do here at The Beach Club. And you'll see that across our menu,
across our themes, across dishes that we have, and we really want to invoke escapism,
but we're really trying to capitalize on this very European-style theme of like calling a venue
some type of either beach club. The idea behind it is not that we're some exclusive big party
day club like you might find in Las Vegas. We want to have this very European flow and style
where it's open-air environment, and we really want to have that night market feel to it. No
matter what day of the week, something's going to be happening at The Beach Club,
and you're more than welcome to come in. Boom. So that was the interview video along with some
B-roll to capture the entire restaurant. And to give you guys a little bit, I have my laptop here,
that's what I'm looking at if you guys are wondering. To give you guys a little bit of
background on the video, we had about one hour before the restaurant opened up to shoot the
interview and also the B-roll shots as well. So when you're working with low-budget video shoots
like this one, you end up kind of being in a time crunch to get as much footage as possible within a
little amount of time. And so let's take a look at the gear that I'm working with. A Canon C200
with a 24-70mm lens, an EOS R with a 70-200mm lens, one Godox VL150 LED light with a softbox,
one light stand, and two tripods. So as you can tell, not the most amount of gear that we're
working with, but we kind of had to make it work. And the first thing that I noticed when I stepped
into the room was how empty it was, because all the chairs and the furniture had been moved
outside for outdoor seating due to COVID-19. And we were only left with this big green sofa and a
couple of other smaller sofas. And next, I noticed that there were huge windows in the corner of the
room that we can use potentially as a good light source. But the main issue is that if I use the
windows as a key, and if we're shooting towards the sides of the windows, they were kind of ugly
and not very appealing because you have a fireplace on one side, which looks kind of old
and outdated. And then you have a blank white wall on the other side, which is kind of boring to look
at. And I also didn't want to place my talent directly in front of the windows because that
would give us a super, super flat image. And I didn't have any negative fill big enough to
introduce any sort of contrast on the shadow side of the face. So really my best option here was to
so that at least we have like a background to look at, right? Like it's not a white wall,
or it's not a really ugly fireplace. And the other side of the room was a super blank and
empty room. It's not very interesting to look at. So shooting into the windows was what I did.
Now, when you're working in these kinds of situations, you have to expose for what you
can't control. In this case, it's the sunlight. And then try to balance that with the things that
you can control. In this case, I can bring in my one LED light to try and balance out some of the
lighting. So what I ended up doing was using the two-stop internal ND on my C200 and then a
variable ND on my EOS R so that we could keep the background from overexposing. Next, I just brought
in my LED light as close as possible to my subject so that we get as much light as possible on him.
And because I'm not trying to shoot very wide on the A-cam because, you know, it's a really
ugly, empty place right now, we don't want to show as much of the room if we don't have to.
And here you'll see that I've placed the light camera left, and I'm angling the light almost
at a 45-degree angle so that we get this nice, even transition across his cheek and then into
his neck. And this way, I'm shooting into the shadow side of the person to give as much contrast
as possible in my shot. And in post, when I'm color grading in DaVinci Resolve, what I do is
I create a mask around my subject, and then I try to bring up the mid-tones to really make him pop
out of the background. And I kind of lower the exposure on the background. That way, we really
make the person pop out of the image. And this way, what we end up with is a nice, evenly lit
person with a beautiful background that's not overexposed and ugly and like all blown out and
stuff. And because we have a huge light source from that window, we get a great backlight that
really wraps around the neck and the shoulders to give a little bit of separation. Now, here's a
couple of things that I think I could do better next time. I would add in another light to shoot
it on the left side of that couch, just to give a little bit of a highlight light hit. And the
reason being is that we have this huge soft light that's coming in and hitting the talent's face,
but you don't really see a motivation for a light to be there. And therefore, as an audience member,
it kind of throws you off and you feel like the scene is lit. You know what I mean? Like there's,
you know that there's light coming in. That's not natural. It's not a natural source. So what we can
do, what I can do next time to easily fix that is to just add a little bit of light hit on the side
of the couch. And that way it can make it look like there's a window there. There's another light
source that's coming in and lighting up the scene a little bit more. So that way it feels a little
bit more natural. And as a filmmaker, these are the little things that I look for in my own work
to try and analyze it and break it down. And that way I can figure out what I need to work on,
need to improve on to get better every single day. All right, that wraps it up for this video.
Just want to show you guys a quick BTS of how I shoot a project with minimal amount of gear. If
you guys have any other questions, please feel free to leave it down in the comments below. Until the
next one. Bye.