
Easy Meowth DIY - Pokemon Bookmark Corners - Origami Inspired - Pokemon Go
24 Video Views·Feb 21, 2023
Easy Meowth DIY - Pokemon Bookmark Corners - Origami Inspired - Pokemon Go
Comments are disabled for this video.
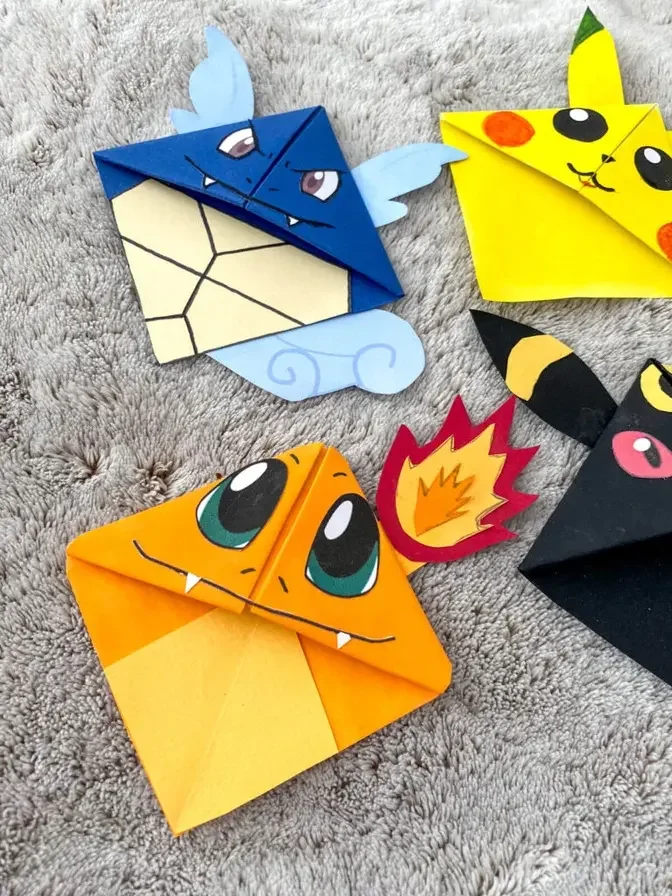
Hello, hello! Welcome back to Red Ted Art and our awesome special Pokemon bookmark corner
series. These are running all week for a whole week, seven days, seven designs and you can see
some on the sides already. Today we're going to show you how to do Meowth. Now if Pokemon isn't
your thing, fear not, we have lots of other crafts here on Red Ted Art. Do check out the channel
with lots of lovely bookmarks that aren't Pokemon and lots and lots of lovely crafts that aren't
bookmarks every Monday, every Thursday, but today is all about Meowth. So come on then,
let's get making. So to make Meowth you're going to need, this is like a beige paper,
it's a little bit stiffer than I normally have, so we'll see how well it works,
but a creamy coloured paper. If you don't have cream use white, don't worry about it seriously,
I think, but if you can find a cream or really light yellow that's great. I've also got some
scrap pink, I've got some scrap black and I was really lucky I've got this bit of scrap gold. Now
if you don't have gold you can just use a little bit of yellow or see what you can find, maybe you
can recycle something. And then of course I need a little bit of white for the eyes because I've
got the cream coloured paper. If you didn't have the cream coloured paper then just the white's
fine. So first things first, we're going to make the basic bookmark corner and to do that we need
to fold over our piece of card, paper is better but in this case it's card, like so. We need to
cut it like so, keep these pieces because we're going to use that for the whiskers, and now I
have the perfect square. So I'm going to leave it folded because that's the way we're going to need
it. I'm just trying to decide, this is textured and this isn't, I think I'm going to not use the
textured side. Now because it's thicker card I'm going to have to really crease it, bring that over
up here, so nice, oh nice flattened bit, bring this bit over like so and a good old crease. Wow
this is really stiff, I think it'll be all right though, it'll last better if it's out of card.
Now bring this top fold down, now if you check my other bookmarks obviously they're all made from
paper so they're a bit easier to make than this one, just tuck this in, it's just that I've got
card this time and then lift this over and also tuck it in, yes because unfortunately
I didn't have any cream coloured paper. So for Meowth I'm going to shape it a little bit up here,
like so, a little bit more here, there we go and I'm also going to shape it a little bit down here
just to give it kind of like that sort of longer face. Now I'm going to create the eyes, so for the
eyes I'm going to fold this over because I want two the same size. Meowth's eyes are very big
and they kind of go pointy at the sides, so I'm going to make really big eyes, so can you see
this, this is actually almost like a 10p size, like so, but then I want to bring the point in
like so, so it's actually a bit more like a human eye, you have these sort of
pointy bits on the sides but they're not maybe quite as round or quite as big,
there we go, I think that's a good Meowth eye for me.
Now I do my trick with the black line,
oopsie, I'm going to do the long thin Meowth eyes, I could have made those a bit thinner actually.
Now I want to make the ears, they're going to be great big triangles, as always make them a little
bit bigger than you think you'll need because you need space for gluing onto the back of the head,
not too pointy.
This is card as well as you can see, which is quite good because it means it'll last,
so that looks good to me and now I need to put two little pink bits in the middle
and use this to get the right shape.
I think that works quite well, I might make it a little bit narrower.
Yeah, good, I like it, I think.
That works, not quite, see.
We all have to fiddle when we're making ones a bit pointy, I decided a bit too rounded.
Yes, yes, yes, yes, all right I'm going to glue that on so that all the bits don't fall apart.
I'm still going to put the eyes on last just because they're quite
key and you really want to make sure they really, really fit.
So I'm going to glue those on at the very end, get a bit of gold.
Too small, too big, I quite like that, nice.
Let's think about sticking it all on and then drawing the mouth, enough space there for the
mouth but I think I do. If I didn't have enough space for the mouth I would have to make my eyes
just a little bit smaller to make huge ones.
And then two on either side.
And then the very, very last bit, oh just moved my camera again, let's move it back.
The very last bit that we need to do for Meowth is to add the whiskers.
So I'm just going to cut some straight little lines off this and do six in total.
I'm going to shorten the ones for the top, I think I did six there.
And take four, I'm going to just um slight diagonal so that they've got kind of a little
whiskery shape. Okay, two on either side and two at the top. I'm going to stick them behind the cat
and you don't see the, you know, I'm going to put them like this
behind so they don't kind of bother the lovely front face.
Now make sure you put plenty of glue you don't want these falling off
but to be honest from a practical point of view you could make Meowth without
its whiskers because if you're going to put these in a book the whiskers might get in your way.
It's up to you.
Last two, I'm going to cut these shorter but also at an angle kind of to get the whiskery look.
And these can go on top but if you look at the Meowth character they do come out of the top
of the head. Obviously because this is card it all takes a little bit longer to dry.
I might have to kind of stick that golden bit down a couple of times before it stays.
All right then, what do you think? Do you like Meowth? Let's see if we can get in focus.
There we go, Meowth. We're almost coming to an end of our special Pokemon bookmark series.
Be sure to like, subscribe, check out all the other videos and of course come back soon for
the very last Pokemon bookmark corner. Anyway, thanks for watching and see you again soon. Bye!