
Just 1 Teaspoon! Cucumbers & Tomatoes Grow Faster and Yield More Than Ever!
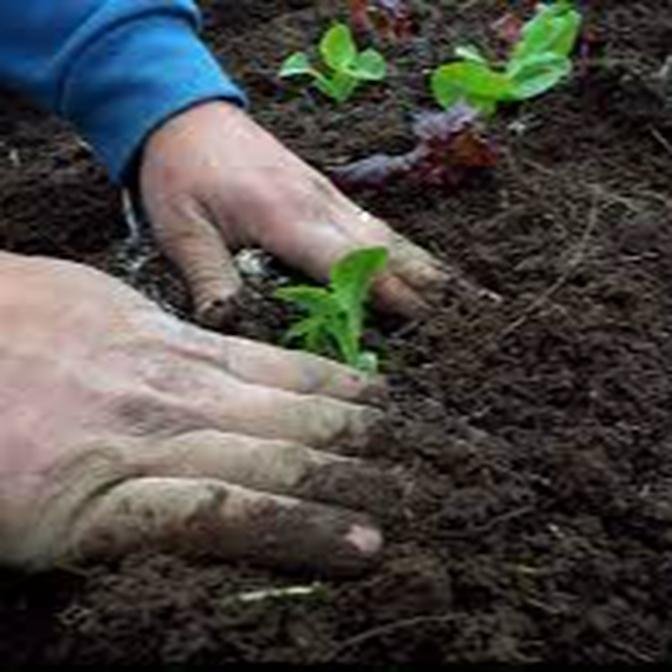
3 Video Views·Sep 1, 2026
AI GeneratedMay contain errors
Video Summary
AI GeneratedThis video explains how to use wood ash as a natural, cost-effective fertilizer for tomatoes and cucumbers. By providing essential minerals like potassium and calcium, wood ash enhances fruit production, strengthens plant structure, and extends the harvest season into autumn, offering a sustainable alternative to synthetic chemical fertilizers.
What I am about to share with you was common knowledge among old growers, but somehow it
got buried under decades of chemical fertilizer marketing.
And it is exactly why some tomato and cucumber patches keep producing right up until the
first frost, while others quit by the middle of September.
This is not about some expensive bottle from the garden center.
This is about wood, ash, the same stuff sitting in your fireplace or your fire pit right now.
I tested this myself across several growing seasons, and what I saw changed how I feed
every single one of my plants.
My tomatoes set almost twice as many fruit clusters, and my cucumbers stayed disease-free
long after my neighbor's vines had already turned yellow and collapsed.
Before we go further, I want to ask something quick of you.
If you care about growing methods that actually work in real gardens, not just in theory,
hit that subscribe button right now.
Everything I share here comes from things I have personally tested.
No empty promises, just real results.
Why did this method almost disappear?
The answer is simple.
Selling bags of synthetic fertilizer is profitable, and ash costs nothing.
Old farmers understood this long before any of us.
They collected ash from their wood stoves all winter long, and every spring it went
straight into the beds before planting.
Many experienced growers still confirm that tomatoes and cucumbers fed with ash resisted
disease better, and produced fruit with noticeably better flavor.
This is not folklore.
This is basic plant chemistry at work, and once you understand it, you will never look
at that gray powder the same way again.
Now you are probably wondering how exactly to apply this without burning the roots or
throwing off your soil balance.
I will walk you through that in a moment, but first you need to understand why wood
ash carries so much power in the first place.
Wood ash is loaded with potassium, calcium, magnesium, and trace minerals like zinc and
boron.
Potassium is the nutrient directly responsible for flower formation and fruit sizing.
Without enough potassium, tomato plants produce smaller fruit with weak stems, and cucumbers
turn bitter and grow crooked instead of straight.
Calcium strengthens cell walls throughout the plant.
That translates into fewer cases of blossom end rot on your tomatoes, and sturdier vines
on your cucumbers that do not snap during a sudden summer storm.
I watched this happen firsthand one afternoon when a heavy wind rolled through my garden.
The plants that had been fed ash stood their ground, while the untreated ones bent and
some even split at the base.
But here is the part almost nobody explains properly.
Simply scattering ash across your beds is not enough.
Concentration matters, and timing matters just as much as quantity.
Too much ash pushes your soil pH too high, and once that happens, roots lose the ability
to absorb certain nutrients no matter how much you feed them.
That was the exact mistake I made during my first season, and my tomato plants actually
slowed down instead of speeding up.
So how do you do this correctly?
Start by sifting your ash so no chunks of unburned charcoal remain.
Use about two to three tablespoons of sifted ash per plant.
Scatter it carefully in a ring around the root zone, roughly four inches away from the
main stem, never directly against it.
Work the ash gently into the top layer of soil using a small hand rake, or simply your
fingers.
Then water thoroughly so the minerals dissolve, and the roots can draw them in gradually.
Repeat this application every three to four weeks, starting the moment your first flowers
appear.
That is the exact stage when potassium demand peaks inside the plant.
At this point, I want to remind you again to subscribe, because in the next section,
I am going to show you a liquid version of this method that works even faster than the
dry application, and it is something almost nobody talks about.
If you want to know how to turn this simple household by-product into a real growth accelerator,
stay with me until the end.
Here is the trick.
You can turn wood ash into a liquid feed that acts faster than the dry version.
Take a handful of sifted ash and dissolve it into two and a half gallons of water.
Let that mixture sit for 24 hours, stirring it occasionally.
After that, strain out the solids and pour the remaining liquid directly at the base
of each plant once a week, ideally early in the morning or late in the afternoon, when
the sun is not too harsh.
This ash tea acts almost like a booster shot for flowering.
I noticed my tomato plants pushing out significantly more blossoms within two weeks, and my cucumber
vines thickened up with denser foliage practically overnight.
Now here is a question many of my viewers have asked me directly.
Does this method actually work on every type of soil?
I will answer that fully before we wrap up, but first, there is something equally important
you need to understand.
There is a second reason this technique works so well, and it has to do with soil biology.
Ash neutralizes mildly acidic soil, and in that balanced pH range, beneficial soil bacteria
thrive.
These microorganisms help roots absorb nutrients far more efficiently than they could on their
own.
That means ash is not only feeding the plant directly, it is also activating the entire
living ecosystem underground, which in turn makes the plant more resistant to fungal disease.
This is precisely why plants treated consistently with ash survive well into autumn, and it
is exactly why we are talking about tripling your harvest before the first frost hits.
The visible improvements are honestly striking.
Tomato plants show thicker stems, darker green foliage, and noticeably more flower clusters
along every branch.
The fruit itself develops meatier walls and a sweeter, more concentrated flavor.
Cucumbers show fewer yellowing leaves, stronger vine growth, and fruit that stays crisp instead
of turning bitter or soft too early.
Growers who have tried this consistently report harvests extending well into October, while
neighboring gardens using no ash at all were already finished by September.
Remember that quality matters more than quantity here.
Only use ash from untreated wood, never anything painted or chemically treated, and never use
charcoal briquette ash, since it often contains additives that can harm your soil.
Pure hardwood ash is ideal because it carries the highest potassium content of any wood
source.
And now the answer to that question I left open earlier.
This method works on nearly every soil type.
With one exception, if your soil is already highly alkaline, sitting above a pH of 7,
you should cut the quantity in half and apply it less frequently.
For most home gardens, where soil tends to be neutral or slightly acidic, this technique
functions almost like a hidden recipe passed down through generations, one that has quietly
faded from memory even though it still works exactly as well today as it did decades ago.
If you decide to try this yourself, pay close attention during the first three weeks after
your initial application.
That window is where you will see whether your plants respond differently than usual.
I am confident you will notice the difference without me having to explain it to you twice.
Nature communicates clearly, we just have to learn to listen to it.
And who knows, maybe this season your garden will be the one still loaded with tomatoes
and cucumbers long after everyone else around you has already given up and pulled their
plants for winter.