
Understand Studio Photography in the Simplest Way
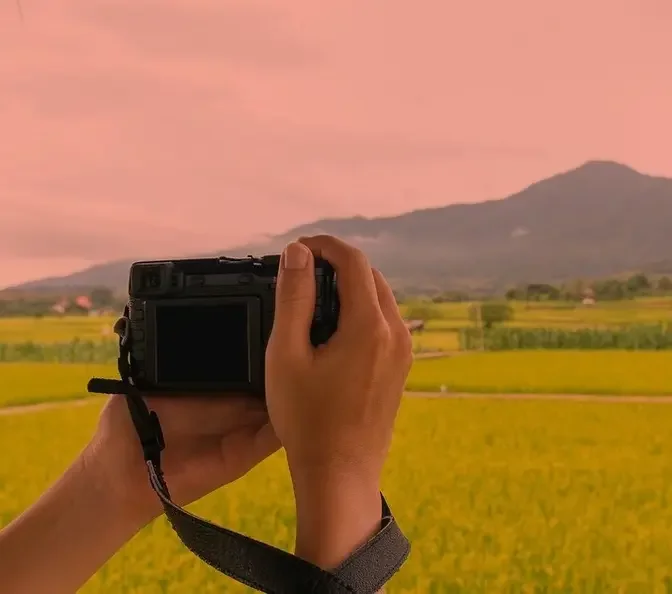
#PhotoCamera, #LandscapePhotography, #PhotographyExpert, #NatureShots, #ScenicViews, #OutdoorPhotography, #CameraGear, #LandscapeExpert, #TravelPhotography, #WideAngleShots, #PhotographySkills, #NaturalBeauty, #CameraTips, #PhotographyMastery, #LandscapeLovers
AI GeneratedMay contain errors
In this video, I'll show you my simple setup for studio photography.
So if you are a beginner and want to learn how to take better photos in a studio,
I'll show you this simple step-by-step process for lighting your studio images
to get better photos for your studio.
So I'm just going to show you everything, including the camera settings
and lighting settings, and simply hit the like button and don't forget to subscribe.
So for my camera setup, I'll be using the Canon 6D camera.
I'm using this Tamron 70-200mm f2.8 lens.
And for my lights, I'll be using this as the main light, the AD600VM.
And it's going to be placed in this 1.65cm umbrella.
And as you can see, I'm feathering it. Feathering basically means
the subject is going to be, or the light is going to be at the edge of the subject.
So the model is going to be at the edge of the umbrella
so that the light doesn't spill onto our backdrop.
So basically, that is it.
And for the camera settings, I'll be shooting at ISO 100.
Shutter speed, one out of 60 of a second.
One out of 160 of a second.
The aperture, 5.6.
So with these settings, I'll be taking a test photo.
And by the way, my picture style is set to standard.
Then for the white balance, it's set to 6,400 Kelvin.
So I'll take a test photo with my trigger turned off.
And as you can see on the screen, the image is going to be dark.
So what I'll do in this case, I'll simply come and I turn on my main light,
which is the AD600 BM, the Mark II,
which is set to the power of one out of one thirty two.
The power is set to one out of thirty two rather.
So with this turned on, I'll take a first test photo.
And as you can see, the image is slightly dark.
So what I'll do in this case, I'll slightly increase
on the strength of the main light to a more stronger setting,
which is one out of 16.
And I'll take another image.
So you can see right now the subject is well lit.
Yeah, you can see the subject is well lit after this second image.
So what we shall do at this point, we shall introduce in our second light,
which is the AD600 BM.
So this is the AD600 BM, and it is in this grid.
Yeah, it's set in this strip box, which has a grid attached at the front.
So I'll just turn it on.
And I'll point it just about 45 degrees behind the subject.
And I'll take another image.
So the purpose of the grid is to avoid light
spilling from the strip box to the background.
And the purpose of the strip box is to create some separation
between the subject and the background.
So for the strip box, it is set to one out of 28 power.
So so this is the image with both lights included.
You can see how beautiful it is.
So we have introduced in these two lights
and you can see it is creating some separation between the subject
and the background. So I'll just adjust it slightly.
And I'll take another image.
So I'll take another image.
So you can see it is creating separation between the subject and the background.
So I want to go in for a more monochromatic kind of setting,
whereby I want to change the background to a color
that is close to the color of the model's outfit.
So what I'll do, I'll introduce in my speed light.
Which has a gel at the front and I'll turn it on.
So I'm just going to place this onto the background behind the subject
and it's going to point straight to the background or the backdrop.
So I just want to create a monochromatic
kind of setting for this shoot.
So I'll take the first image.
And as you can see, it has tried to create this kind of monochromatic feel.
So what I'll do, I'll just slightly adjust it
so that it can be in the right position.
Then I'll slightly aim it lower like that.
So the strength of the speed light is set to one out of 64 power.
But as we're taking these images, make sure that every time
the subject is hiding or is slightly hiding
your speed light.
So you either have to adjust yourself as a photographer.
The position now, but you can't see
you can't see the speed light in the shot or even the stand.
So I like the pose.
Just turn the upper body, same pose towards me.
Upper body. Yeah.
Just turn the shoulder. Yeah.
Yeah, I like that.
So you can see we are creating a different feel to the overall shoot.
So I'll take more images.
Perfect.
Just raise this hand higher.
Yeah, perfect.
Raise your chin a little.
Yeah, perfect.
So this is how you can simply create and build up your studio photos
in case you own three lights or in case you own one light
for your studio images.
And this is going to help you achieve better looking images as a photographer.
Don't forget, keep practicing and as well, keep creating.
Let's take one more.
Just look straight to me.
Yeah, cross, cross completely.
Yeah. OK.
Just push behind a little.
Yeah. OK.
Nice. Beautiful.
Can I have the other hand? Yeah.
Beautiful.
So I hope you can see how lovely these have turned out to be
or to look in this case.
Don't forget to subscribe and ensure that you like this video.
And the model for today is Natasha.
Yeah. So thank you.
I'll see you in yet more videos on this channel.
Thank you.