
ALLOTMENT GARDENING FOR VERY BEGINNERS / CLEARING YOUR SPACE
1K Video Views·Sep 22, 2024
Hey there, so if you have just taken on your first ever allotment plot and you have no idea where to start, this is the series for you.
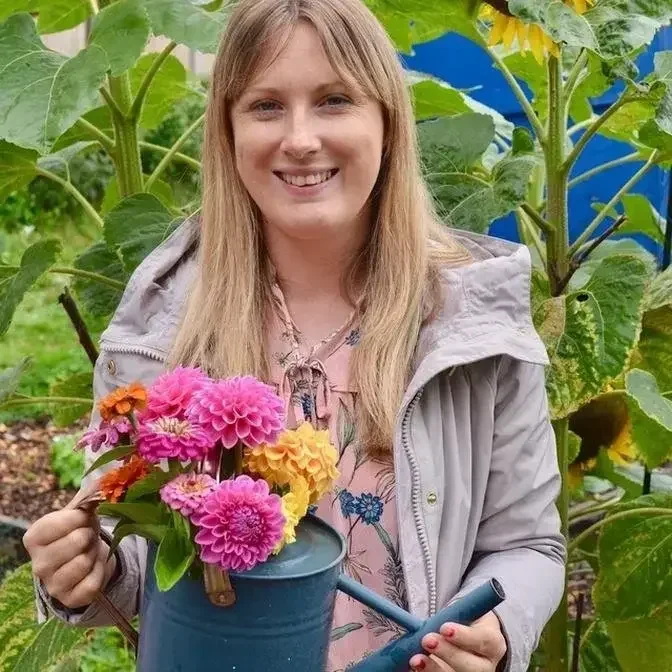
Hi, my name is Emma and five years ago I took on my first ever allotment plot, a year ago I took on my second plot,
and I took it from absolutely overgrown to a lovely productive space that I can use to grow all the crops that I want.
And in this series I'm going to show you exactly how I did that.
I think we'll start with the basics of what is an allotment plot.
So an allotment plot is a piece of land that you rent from a local council or a private farmer.
It's a little space that you can grow whatever you like on.
Every allotment site has different rules.
There's often rules about the structures that you can put onto your site, so how big your shed can be.
So make sure that you read through the rules that you are given so that you don't break any of them.
Allotment plots can cost anywhere from £20 to £140 a year.
I think my one in particular here in South London costs about £200 a year.
But I'm in London, so what do you expect?
Contrary to popular belief, you don't actually have to grow fruit and veg on an allotment plot if you don't want to.
You can grow flowers, you can lawn some of it and make it into a mini garden.
The only universal rule is that 75% of your plot has to be cultivated, i.e. kept under control and actually used at all times.
If you don't follow that rule, you might get a letter of cultivation, which basically means your plot looks crap.
Get it under control!
And you'll be given so long to regain control of all the weeds on your plot before unfortunately getting kicked off if you fail to do that.
So it is really important that you keep 75% of your plot under control at all times.
The chances are that your first allotment plot is going to be a tad overgrown.
Probably not as bad as mine is, but even if it is, your first job is going to be to clear it down to ground level.
Now whether you do this manually, like I did because I love hard work, or you do it with power tools, it's still going to be quite a long process.
So it's really important to stay motivated, stay focused, try and tackle it in sections.
If you take a section at a time, it stops you from becoming too overwhelmed, it keeps you on track and you can really see your progress as you go as well.
Keep your dream allotment plot in your mind at all times in this process.
Sometimes it will really test you guys.
The best time to clear an allotment plot is obviously going to be over the winter time because things are not in active growth.
But ultimately the best time to start your plot is whenever you get the keys to it.
So if that is in the spring, summer time, you're just going to have to work with what you've got.
Once you've completely cleared your plot, you're probably going to have to level it.
Now the way that I like to do this is to rake over everything and use a plank of wood, stuff it on the ground and jump up and down on it.
Keep repeating the process until you've started to level out your plot a little bit.
And you can walk around on it without falling over yourself basically.
There may very well be some structure already in place, in which case fantastic, good for you.
You get to work with what you've got.
If however you've been left with a blank space, the choice is yours.
You can be as creative as you like.
Get yourself a piece of paper and design your plot really roughly.
And just remember that it probably won't translate to real life.
It's going to have to be adaptable and you're going to have to change your plan as you go.
Just always be aware that gardens are very changeable and don't put anything in that is permanent.
If things don't work one year, you can always pull it out and redo it the next year.
I often get questions asking about how big everything should be at your plot.
Ultimately it's up to you guys, it's your allotment plot.
What I would say, as a rule of thumb, when you're making your pathways, make sure they're large enough to be able to get a wheelbarrow down.
And make sure you can crouch down in them and reach into a bed without falling into the bed behind.
And I can crouch down like this, reach there, and my butt's not in the bed behind me.
And again, in terms of how big your growing bed should be, firstly, what are you going to grow in it?
Pumpkins are going to need a lot more room, brassicas will need more room, but salad crops will need less room.
So think about what you're going to grow.
Make an array of different sized beds so you can accommodate lots of different crops.
A very, very easy way of thinking about the size of your raised beds is you should be able to stay on the outside of it and reach right into the middle of the bed
in order to weed and harvest crops without having to physically step into the bed.
If you have to walk into your bed to get to the middle of it, it's probably too big.
As you can see, I've got lots of different sized beds here that I very haphazardly put together.
This one here is really long and thin because I wanted to grow lots of flowers in it.
And the ones over by the archway are a lot bigger because I like to have pumpkins in them.
Do think about larger structures such as sheds.
Your shed should really go in a place where it's not going to cast shadow on any neighbouring plots or your plot
and should really be at the edge out of the way because there's not much use other than storing stuff in and having a cup of tea.
It's just a shed. Keep it out of the way. Do you know what I mean?
And definitely, definitely consider vertical spaces.
It's going to enhance your growing space. You're going to have a lot more room to grow things over.
Whack in a few archways. Archways are absolutely great.
This actually isn't a specific archway. It's an old polytunnel frame that I've repurposed as an archway.
Honestly, the more stuff that you can repurpose or reuse, the better.
I think ultimately, you need to work with what you've got and what's there.
I have a lot of trees in my allotment plot.
But instead of complaining about them, I just sort of work around them.
I grow crops that are happy to be in the shade under them.
And I've turned it into a bit of a wildlife area as well, which I really love.
The birds really enjoy it.
And I just like working with the space that I've already been given, you know.
In conclusion, if you've just got your first ever allotment plot, congratulations.
So exciting. Clear the entire thing down to ground level.
Have a look what structure you've got to work with.
If there's no structure, design it on a piece of paper.
Start putting in a few vents and pathways.
Remember that nothing is permanent.
You can always pull it back up again and change your mind later.
And make sure you follow my channel because I'm going to be doing lots of other videos
on what to do with your first allotment plot.
And in the next video, we will tackle how to fill your beds and make them ready for growing.
Join me next time, guys. Thanks for watching.