
Northern Lights Acrylic Painting, step by step tutorial
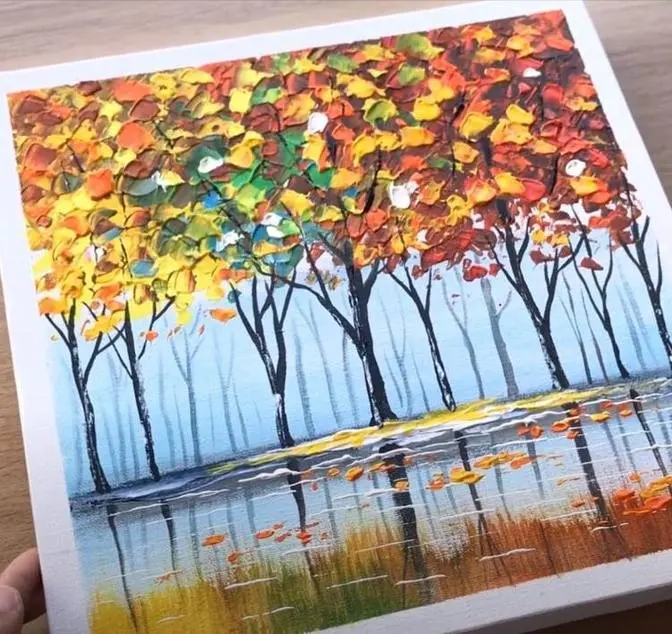
Thanks for joining me again in my studio today. I'm going to be demonstrating how to paint Northern Lights.
And you want a pretty big brush for this.
Taking your big brush with lots of purple paint,
pulling from the edges of the canvas
towards the center.
So concentrate on this area of the canvas being the darkest with the purple.
Then if you have a little bit extra, you can just stumble softly across the bottom.
We want to be working wet-on-wet today for this painting.
So this is still wet and I want to pick up with a dirty brush,
Phthalo Blue now, and I'm going to start
right where I left off with the purple.
Softly
pulling and sweeping back and forth
all around
the purple area.
Okay, now with it, my brush is still dirty. I haven't washed it yet.
I've got a little bit of purple, phthalo blue left, and I'm scooping up some turquoise.
I'm going to start in the middle
very softly.
You can pull this down
into the bottom of the canvas, picking up a little bit of that purple paint.
And the phthalo blue.
So now I'm just going to very lightly
okay, so I will just wash that off and
now I'm going to switch to a fan brush.
I'm just getting titanium white on the ridge of the brush.
I'm going to
start
at the top
tapping lightly
I'm going to do three of these
and then tapping
and curving
and lightly pulling
and then maybe one way off, almost off of the canvas, and then pull.
This is wet on wet, so it's pulling in all those colors that we have behind it
and it's going to create some really soft pretty pastel tones.
So right away before this sets and dries, I'm going to go use another brush, and this is dry.
And I'm just going to start
very lightly
flicking
very lightly just flicking the white
on each one.
Now we're going to do this many times
so we build up to a really soft pretty
pastel color.
And you can go very lightly.
I'm barely touching the canvas at all for this.
Up and down if you like and then again
just so it has that really soft dreamy haziness to it.
Wash and dry that brush off.
I'm going to use a half-inch brush now
and I'm going to take
neon yellow.
I've got quite a bit on my end of my brush there to work with and I'm going to
concentrate on this area of the painting.
I don't want to pull because then I'll be pulling off that painting or the paint underneath.
So very lightly
place it on there
barely touching that canvas again
a little bit on this third one.
Now I'm going to go back
a thick ridge of titanium white.
Not washing my brush, and I'm just going to very lightly
tap in some
titanium white in with the yellow.
Not all over the yellow just in a
few different areas so it looks more natural and you'll get
so many different tones and highlights.
Okay, so I'm going back
to my
two-inch brush
making sure it's not too watery.
Dry it off and very lightly
on the paint that we just put there
we're going to flick.
Place our brush carefully on that paint.
Start this again on the second row.
Flick, flick.
I'm carefully trying not to flick this second row into the top one.
Otherwise, it'll just all look like one big.
And I mean that would still look pretty, but I want to have different layers going on in this painting.
I'm going to even just soften this one off a little bit more down here on the bottom.
I'm going to take this off my brush again.
Now I want to come back with
and pick up a little bit more of the turquoise.
Come up here with it.
Brighten up this area.
Okay, now I'm going to do
some more highlighting on this one down here.
So I just keep layering and layering.
I've done this painting with
many different colors. Sometimes I'll use
rainbow colors and it looks really pretty.
But just for a beginner one, I thought I'd show you guys just a few basic colors.
So I'm going to take
turquoise on the very end of my brush and just start tapping in
some little bushes down here in the bottom.
Then with the same brush, I'm going to tap into the phthalo blue.
Right away, I'm going to come from the edge
overlapping
part of that turquoise we just put down.
One inch brush now.
Sweep this
portion from the bottom
softly,
very softly,
leaving the top
bright as turquoise. If you accidentally
pull it off, you can just tap
with any brush, really.
Maybe you want to make the mountains. They could be mountains too, using the same
gruel, same color,
adding the brightest turquoise. Let's even put in a little bit of
a little bit of white
right on the top there.
That really
stands out.
Then I'll pick up a little bit of yellow
and just add
maybe a little bit. There's an indication of a river down here.
We don't want to do too much
down here. The focus is really to draw our eyes into the beautiful northern light sky.
So just a very light sweeping of that white that we just added.
And then this painting's almost done.
We're going to use
black paint and a filbert brush.
It's got to be dry. Don't get your filbert wet. You want to get both sides
loaded up.
I'm not going to paint these trees too big because I want it to feel like they're a little bit farther away.
So I'm going to
tap lightly with a tip of my brush,
tapping in a little bit of a
pull.
Starting from the edge of the canvas
across. Leave this area open.
Then we're just going to
with a tip of our brush
tap up just to about here for our tree.
Very lightly. I just love the filbert brush. It's the easiest
brush to use for painting trees. So if you're just a beginner
you've got to get some filbert brushes all different sizes.
So because I'm painting wet on wet right now the black needs another coat because it's
sort of picking up some of the
turquoise I have underneath.
And I want this to be really, really striking. So I want it to be solid black.
So this is going to be
bigger trees going to the wards of the center getting smaller and smaller and smaller.
So just less pressure on your brush and you can make smaller branches.
Or if you're
just a beginner and you're not quite
comfortable using this same width of a filbert brush for all of your trees, you can switch up and go for a smaller one
for these little baby ones.
So just tapping lightly.
Branches on the very top of the tree are going to be
so small.
Getting a little bit wider as you get to the bottom.
Maybe I'll do
this indication of
little tiny baby ones here way off in the distance. This helps create perspective as well.
We can see.
Okay, and I think I'm gonna do just one more tree right here.
And that will be it for today.
Now if you guys have any questions,
I'm really happy to answer.
So just let me know what you thought of the video,
what you'd like to learn next time.
I'm new to, brand new to YouTube, so I'm just starting out with my videos.
But I've been teaching art classes for many, many years.
Oh, I lied. One more tree.
One more tree right here.
I'm gonna call this one done.
So thanks for joining me again today guys. I hope you liked my video.
Give me a thumbs up and let me know what you think and stay tuned for next week. Bye.