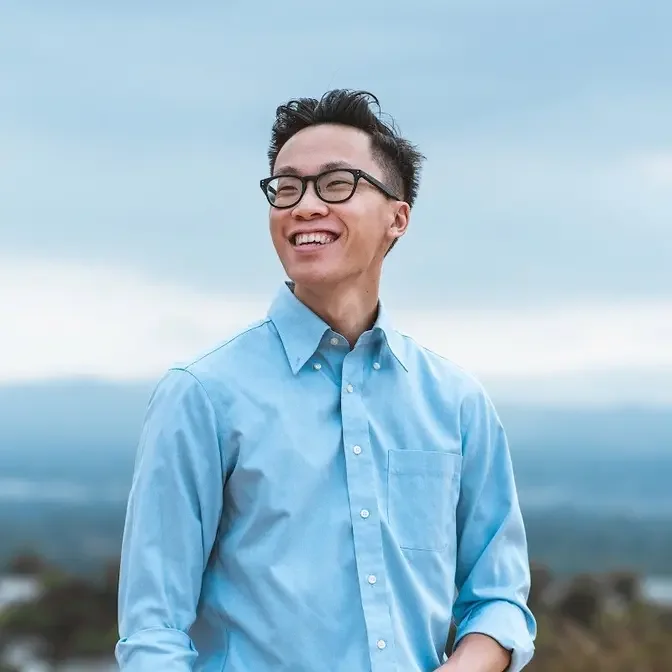
Here's how I film my YouTube videos and how I set up my YouTube studio! I hope this gives you some insight and inspiration on how to set up your YouTube studio.
I feel like this is a video that every YouTube channel has to have in order to
officially become a YouTube channel. It's like a rite of passage kind of thing. If you don't have
it, you're not like officially a YouTube channel. You know what I mean? Like everyone wants to know
what people's setups are in their home office, their studio, wherever they film their YouTube
videos at. So yeah, I thought I'd make my own and officially make it a YouTube channel.
But I feel like it's kind of cool, you know, to see what people's lighting situation looks like,
their audio, their cameras, and how they arrange it in their office. So, oh, and before we begin,
always have to make this disclaimer. Nothing is sponsored here. I don't have anybody sponsoring
this video. It's just myself and I just want to show you my office. Everything that I talk about
will be down below unless it's out of stock or discontinued. Otherwise, it will be in the
description down below. So you guys can go check that out if you want some inspiration.
So without further ado, let's dive straight into it. Well, I guess we'll just start with my camera,
which is the thing that's filming me right now. I'm using the Canon EOS R. I really like this
camera because it's full frame and it has incredible, amazing autofocus, which is perfect
for talking heads like now, like right here. And even though this camera can shoot up to 4K,
30 frames per second, I usually shoot at 1080P, not usually, I always shoot 1080P at 24 frames
per second, just to lower down the file size and avoid that crop factor in 4K. The lens that I'm
using is the Canon 16-35mm f2.8 Mark II, which is awesome because it lets me get a super wide
angle shot of the entire studio if I needed to show like a ton of gear or I can just zoom in
and get a closeup of my face. My camera is mounted on the Magnus VT 4000 tripod, which is a
10-year-old tripod. I think I bought it like 10 years ago when I first started my filmmaking
journey. It's an old tripod. I don't know if you can find it on Amazon. I'm pretty sure you can if
you look hard enough, but I'll link it down below if I find it. Actually, probably isn't that hard
to find. Even though my camera does have a flip out screen, I like hooking it up to the Atomos
Ninja V external monitor so that I have a bigger screen that's closer for me to see. Boom, that's
my camera setup. And we're going to move on to the most important thing of your entire setup,
and that is, can you guess it? If you said lighting, you are wrong because the most important
thing is audio. Even if you shoot all of your videos on your smartphone, people will forgive
you for having bad image quality. But if they have to sit through terrible audio, they are going to
rip you a new one in the comment section. So let's quickly go over my audio setup. The microphone
of choice is the Rode NTG4 Plus shotgun microphone that goes onto a monopod. Monopod goes onto the
microphone boom pole support, mount the support onto a grip head, and that goes right onto a
light stand that's weighed down with an eight-pound dumbbell. My Rode mic is then hooked up to my
Tascam DR-05 audio recorder using an XLR to 3.5-millimeter cord because this recorder is
nine years old and it doesn't have XLR input in it. To get the cleanest audio possible, you have
to have the mic as close to your mouth as possible. And to do that, first lower the mic until you can
see it in the frame and then slowly raise it up until it's barely out of it. All right, next,
we have lighting. And I use three lights in all of my YouTube videos. The first one is the newer
SL-150W, which is my key light or my main light. It's way cheaper than the Aputure lights and it
produces the same results. I've got the newer Light Dome mounted on it, and it's got a diffusion
cover over it so that gives me that soft, nice lighting on my face. The light is then mounted
onto a Manfrotto light stand, and I use a sandbag to secure it down so that it's not going anywhere.
Next in the corner of my room is an office light with a Philips Hue light bulb, and I can use that
to control the color and change the color of that light. And that's off to the side so that I can
just fill in some of the shadows on my face. Here is on, and that's off now. Okay, on, off. I don't
know. It kind of adds a little bit of light back into the shadowy side of my face. And the last
light that I'm using is this tiny little Aputure Amaron ALMX LED light that sits on the bookshelf
behind me so that it gives me a little bit of separation and it can light up the bookshelf.
Now, usually in my YouTube videos, my head is big enough to block the light,
so you don't really often see it. But if I move like this, there it is. See? Right there. And I
hook this little light up to a power bank because the battery life on it is pretty short. And
usually when I'm filming for longer periods of time, the light dims out as it loses power. So
that is my lighting setup. And next, I guess the last thing we'll talk about is the desk that I'm
using and the bookshelf. The desk that I'm using is actually a side table from Fuli. They make
amazing standing desks, and they also make side tables like the one I'm using. And the bookshelf,
I think we got it from either Wayfair.com or AllModern.com, which is like six months ago when
we first moved into the new house. The last time I checked, I think this bookshelf is actually
discontinued. So sorry about that. And on my desk, I have the little Atomos Ninja 5 external monitor,
glass of water, the Tascam audio recorder, and the remote for my light. And then on my bookshelf,
I have Jolly Ranchers and M&Ms on the top shelf, along with a couple of fake plants from Ikea.
The second shelf has all of my camera and lenses on it, which is the one that you guys see most of
the time. The third shelf is just for accessories like batteries, base plates, chargers, et cetera.
And the last shelf is for papers, notepads, and other junk that I don't really use on a daily
basis. And that's it. I think that's it. That's my YouTube studio. I hope that gives you some
sort of inspiration for your own setup. Obviously, you don't need to have every single piece of gear
that I'm using in my YouTube videos. Use whatever you have and start filming. I'm actually going to
do a low budget version of the entire setup. So let me know if you guys are interested in that
video. If you like this video, please hit that like button, make sure to subscribe,
hit the bell to get notified of every video that I post. Until the next one,
my name is Alex Chung, and I'll see you later. Bye.