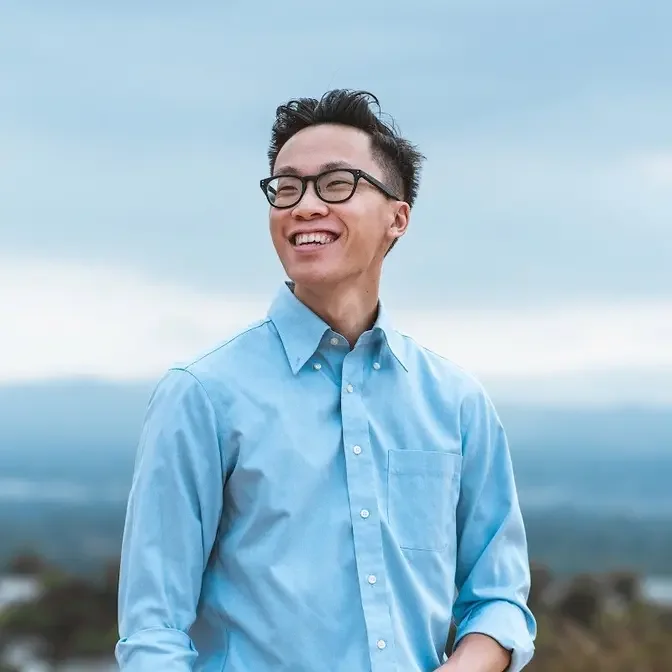
This is how I shoot a low budget commercial by myself, with little to no crew members helping me. It's definitely not an easy task especially if you want to make your shots look good. But using good technique, and lighting theory, you can still create a great looking video for your clients.
Welcome back to another video.
Today, we're going to break down the commercial that you just saw, and this
is another hotel commercial that we did out in Malibu today, I really want to
focus on how you can shoot as a one man band predominantly by yourself and
still get a decent looking image.
A lot of times these companies or brands with smaller marketing budgets, aren't
going to have a lot of money to spend on video, but they still do need the video.
And with smaller budgets, that means you might not be able to always hire out help.
It's in these situations where you're going to be kind of crammed for time.
You're going to be short on people helping you out with
lighting and setting things up.
So a lot of things are going to be run and gun, like
documentary wedding style shooting.
Cool.
So with that in mind, let's start diving into the commercial itself.
We have this opening shot here of this tilt down shot of the lobby of the hotel.
And this was shot on my Canon C200 with the Crane 3S gimbal.
And you'll notice that in the shot, there's a lot of light leaks that
happen throughout the shot.
And that's because the sun's at a perfect angle where it's hitting
the lens at the right spot.
And that's how you get those flares.
And you also combine with the black ProMist filter, it just gives
that that hazy kind of dreamy look to it.
And when I'm shooting, I'm always looking for flares to make the shot
look a little bit more interesting, make it look more dynamic.
If you can get those flares coming in and out of the shot, that always looks good.
So with everything combined together, the tilting down, the light leaks, and
then this orb prism in the side of the frame, it just makes the shot look a
When you're working outdoors and you're at the mercy of mother nature and the
sun, making a shot look good without having total control of the location
is going to be really hard.
So whatever you can do to spice up the image, to make it look a little bit
more interesting, you should always try and do.
The next two shots are in the hotel bedrooms.
And again, if you notice the shots are moving, I'm using my camera on a gimbal
and I'm panning around and I'm tilting.
I'm just kind of dolling in and out just so that I can create some sort of
movement.
So it's not just a boring static shot of an empty bed in this next shot right
here of the wide shot of the outdoor spa.
This shot is on a tripod, but what I did instead is put in front of the lens, a
split doctor.
This one is from Cinepax and this one is a handheld one so that you're able to
either put it in the front of the lens and you kind of move it around or what
they have is a quarter inch mounting hole right here and you can mount it in front
of your lens.
So it's stationary and it doesn't move and that blurs out part of the image and
that gives you a really ethereal and really dreamy kind of look to the shot.
The next shot here is at the beach and the sun is directly overhead and we're
top lighting the entire scene.
So it does make the shot look a little bit flat because everything is so bright
and there's not much contrast going on here.
You're probably not going to have that much time to make everything look really
good.
So you're gonna have to work with what you're given.
And in this shot, we placed all three of the tables together to make it look very
symmetrical and very pleasing to the eye.
And I also did a slight handheld push in.
All I did was just grab the camera like this and just sort of lean in and that
gives you a little bit of movement so that it makes a shot look a little bit more
interesting.
These next two food shots indoors are shot on the EOS R on a gimbal and they're
pretty standard movements.
You're just trying to use the gimbal to really exaggerate the movement and get
the viewer very interested in the shot.
And then these next few shots, again, we're on the beach, sun is top lighting
the entire scene.
And in these situations, you're trying to look for as much contrast as possible.
For example, in this shot with our talent, she's kind of silhouetted in this whole
scene.
There's not a lot of harsh sunlight hitting her at all.
And here when we're transitioning from the beach to the woods, we're matching the
action of her lifting her hand up in the first shot.
And then in the second shot, she's completing the action, but now we're in a
different location.
So that's kind of how you can make things look a little bit more interesting from an
editing perspective.
And here again, we're going to go with side lighting and trying to create as much
contrast as possible by angling the actress in a certain position in order to
create that shadow on her body, across her hands and across the floor and the grass
in front of her.
And here in the wide shot, again, I'm trying to create movement as much as
possible by coming out from behind the tree and doggling towards my right side.
And something else that I've learned is to not be afraid to move things around to a
place where it has a really optimal lighting.
The yoga mats in this shot were not originally in that position.
I had to move them around so that it kind of fell into these pockets of light.
So instead of them completely being in the shade where it's a little bit dark, you
now have these really interesting patterns across the yoga mats.
And that also makes the image look a little bit better.
The next shot is a drone shot.
I'm flying towards the sun and I'm turning the drone at the same time.
So you get that movement and you get this really nice lens flare.
And then we have our actress stretching on top of the mountain, overlooking the ocean.
Here again, top light on the sun.
So I'm backlighting as much as possible.
Imagine if you reverse the position of our actress, the sun will be behind our
actress, which means it's going to be lighting our actress up with hard sunlight.
So instead you want the sun to be in front of her.
And that creates a lot of contrast.
It almost gives it a silhouette kind of look.
And then the last shot is back at the ranch where we're side lighting our talent.
She's sitting in the shade, but the trees are acting as a diffusion.
So you still get that really nice, soft, diffused light coming in from the side.
That's pretty much it.
You'll see in a lot of these videos that I create for the hotel,
I don't have a crew at all.
It's just me and my wife, and then just the model or the actress.
And then we have someone else from the hotel that's also there to help us out.
And in a lot of these situations where the sun isn't working with you, adding
movement or putting stuff in front of your lens and looking for ways to
backlight or side light your talent is going to be your best bet at creating
the best looking image possible.
So I hope that helps you on your next shoot.
Let me know if you have any comments down below.
If you liked the video, hit that like button, make sure to subscribe, hit
the bell to get notified of every video that I post until the next one.
My name is Alex Chung and I'll see you later.
Bye.