
#OctopusEffects, #aftereffects we can play with Particular and make a lot of cool stuff. Although I don't know what to call it

#OctopusEffects, #aftereffects Here is a short tutorial on how to turn an image or video into ceramic mosaic Hope it is useful to you Thanks for watching

#OctopusEffects, #aftereffects This is an After Effects video tutorial on how to create an endless moving camera effect. Infinite Zoom effect in After Effects. Short and simple tutorial Hope it is useful to you Thanks for watching

#OctopusEffects, #aftereffects Tutorial on how to create neon light. This idea is not new but this tutorial is short and straight to the point and will save you time Timestamp 00:00 Introduction 00:12 Create Content 01:56 Bottom layer - Shadow 02:33 Middle layers - Glow 03:38 Top layer - Bevel and Emboss 04:17 Mixed light area Hope it is useful to you Thanks for watching

#OctopusEffects, #aftereffects Here is an After Effects video tutorial on creating a smoke-like particle stream, using Particular Original video: https://drive.google.com/file/d/1cUfcVpSVxF_b84kU1allWPYlxfXU8zRT/view?usp=share_link Hope it is useful to you Thanks for watching
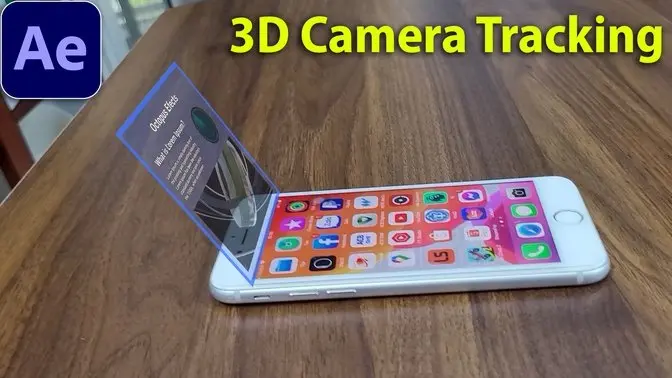
#OctopusEffects, #aftereffects 3D Camera Tracking is very important and many applications in adding effects and editing videos. In this video you will learn quickly this technique. Original video: https://drive.google.com/file/d/1N8i3fo7yO9cAQY-ahhu5AxQY3OwcY76l/view?usp=share_link Hope it is useful to you Thanks for watching

OctopusEffects, #aftereffects I shot a short video, then used Particular with the Physics of Fluids to make the cup dissolve into particles. Here is a detailed video on how to do it. Video without voice Original video: https://drive.google.com/file/d/1PcI-cMdBbNXsYIAaPssZMKhmaNpAPp_c/view?usp=share_link Timestamp 00:00 Introduction 00:15 Prepare the ingredients 01:50 Emitter & Particle 03:20 Physics Fluid Hope it is useful to you Thanks for watching
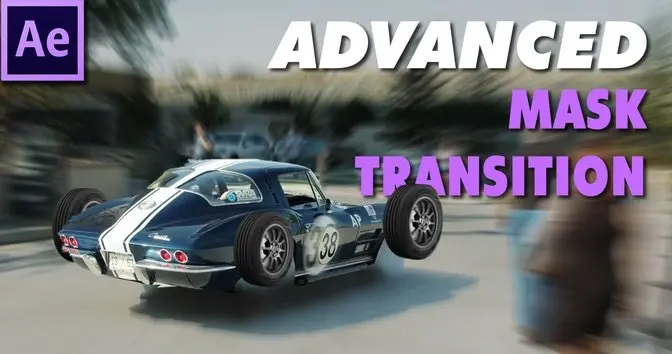
In this video, I will show you how to create eye-catching and engaging custom transitions based on the object in your video. These are actually mask transitions but enhanced to create a sense of surprise for the viewer and make the video more interesting. #eye-catching, #CustomTransitions , #Transitions, #AfterEffects , #howto, #tutorial

Transform your logo into a mesmerizing liquid gold animation with this easy-to-follow After Effects tutorial. Perfect for intros, outros, and social media videos, this effect will add a touch of luxury and professionalism to your brand. In this tutorial, you'll learn: How to create a realistic liquid gold material How to animate your logo to flow and morph seamlessly How to add lighting and reflections for a polished look Tips and tricks for customizing the effect to your liking No prior After Effects experience required! Whether you're a beginner or a seasoned pro, this tutorial will guide you through the process step-by-step. Subscribe for more After Effects tutorials and creative inspiration! #AfterEffects, #MotionGraphics, #Animation, #GraphicDesign, #VideoEditing, #VisualEffects, #Creativity, #DesignInspiration, #Tutorial, #DIY, #AE, #MotionDesign, #AfterEffectsTips

Want to add a touch of magic and warmth to your videos? In this After Effects tutorial, you'll learn how to create stunning, realistic sun rays and lens flare effects in just a few simple steps. We'll cover everything from adjusting colors and contrast to using the CC Radial Fast Blur and Lens Flare effects. Whether you're a beginner or an experienced After Effects user, this tutorial will help you elevate your footage and create breathtaking visuals. #aftereffects, #aftereffectstutorial, #vfx, #visualeffects, #videoediting, #filmmaking, #sunrays, #lensflare, #cinematography,

Learn how to create a realistic Spider-Man web-slinging effect in After Effects! This tutorial covers everything from creating the web shape to adding movement and elasticity. Perfect for beginners and experienced users alike. Code: //Change this 3 values to change the effect freq = 5; decay = 7; mult = 0.05; if (numKeys > 1 && time > key(2).time){ t = time - key(2).time; a = velocityAtTime(key(2).time-.01)[0]; d = a*mult*Math.sin(t*freq*Math.PI*2)/Math.exp(t*decay); value + [d,d] }else{ value }

Learn how to create a stunning Earth Zoom effect in After Effects using Google Earth! This step-by-step tutorial will show you how to capture images from Google Earth, import them into After Effects, and create a smooth zoom animation that will take your viewers on a journey from outer space to any location on Earth. This tutorial is perfect for beginners and experienced After Effects users alike. Whether you're creating a travel video, a documentary, or a corporate presentation, this effect is sure to impress your audience. In this video, you'll learn: How to capture high-resolution images from Google Earth How to import images into After Effects How to create a smooth zoom animation How to add text and other elements to your video Tips and tricks for creating a professional-looking Earth Zoom effect Don't forget to like and subscribe for more After Effects tutorials!

With a landscape image, you can create a completely free depth map at the website below. Then map the depth map to the image. You can even map your own text or other instructions to the photo. In this tutorial you can also find how to blend text into images, create cool falling motions and shaking effects. Create depth map here: https://huggingface.co/spaces/shariqfarooq/ZoeDepth Timestamp 00:00 Introduction 00:10 Create depth map 00:39 Map the depth map to the image 02:04 Create and Map Text to Terrain 03:34 Blend text 04:07 Create Text movement 04:55 Create a shaking effect Thanks for watching #depthmap, #mapping, #camerashake, #blending, #mappingtexttoterrain, #textanimation, #landscapephotos, #cameracontrol, #completelyfree, #blendtext

#OctopusEffects, #aftereffects CC Glue Gun is an effect available in After Effects In this guide I will share with you what CC Glue Gun can do. In addition, I also share with you how to make Glue Gun look more beautiful and lively Hope it is useful to you Thanks for watching

#OctopusEffects, #aftereffects In this tutorial: Use Track Camera to capture video motion. Use Saber to create a top-down energy source. This energy source hits the ground will radiate in the form of a wave and pass through the underbody of the car. Use the Roto Brush Tool to separate the car from the video background. The original video: https://www.pexels.com/video/a-dynamic-shots-of-a-parked-car-4281092/ Timestamp 00:00 Introduction 00:10 Track Camera 01:20 Make Wave 02:47 Make Grid 03:46 Create energy from the top 07:48 Separate the car from the background Hope it is useful to you Thanks for watching

#OctopusEffects, #aftereffects In this video, I will show you how to edit a video. How to use Floor in Particular, use the camera to adjust the viewing angle, how to put an effect into the video. Original video: https://drive.google.com/file/d/1wK820N9JDDXd0XDnfua3yyWcLw3SdWIB/view?usp=share_link Timestamp 00:00 Introduction 00:14 Edit original video 03:36 Start using Particular 07:45 Camera 09:20 Cover the excess Hope it is useful to you Thanks for watching
 Technology for HumanityGan Jing World is dedicated to promote kindness, respect, and trust among people. Our non-addictive content prioritizes meaningful information, while upholding freedom of speech and user privacy.
SUBSCRIBESign In